5–10 minutes Beginner 12 steps

Customize a template and go live in minutes

Turn the Northgate healthcare template into a real business site — swap images, update copy, and publish. The same steps work for any template.

  • Browse and download a professional template
  • Upload your images and replace stock photos
  • Edit text and publish to S-Drive or your server
Start tutorial
01Find a template
1

Browse the template gallery

Go to themes.coffeecup.com and explore the available templates. You don't need an exact match for your business — you'll be replacing all the images and text. Focus on finding a template whose page structure and navigation match your needs.

For example, if you're building a single-person freelance site, avoid templates with pages for employees, teams, or multiple service locations.

Use Live Preview — every template has a Live Preview button so you can see exactly how it looks when published, before committing to a download.
2

Download your chosen template

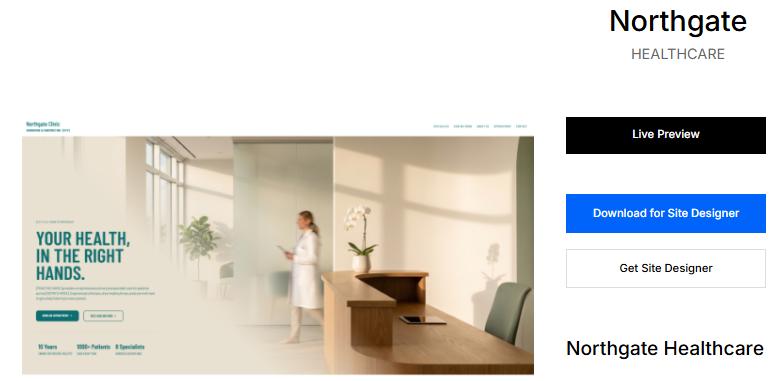
On the template detail page, click "Download for Site Designer". The download produces a file ending in .rsdtheme — for example, Northgate.rsdtheme. This single file contains the entire template.

Northgate template page showing the 'Download for Site Designer' button highlighted with an arrow
Click "Download for Site Designer" on the template detail page
Don't have Site Designer yet? Download it here — a free trial is available.
02Open in Site Designer
3

Open the template file

You have two ways to open the downloaded template:

Option A — Site Designer is not running

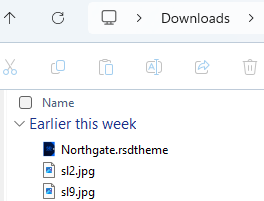
Double-click the Northgate.rsdtheme file in your Downloads folder. Site Designer launches and opens the Template Chooser automatically.

Option B — Site Designer is already open

From the menu bar: FileImport Template, then navigate to and select the .rsdtheme file.

Windows Downloads folder showing the Northgate.rsdtheme file highlighted with a red circle
The downloaded .rsdtheme file in your Downloads folder — double-click it to open
4

Choose and load the template

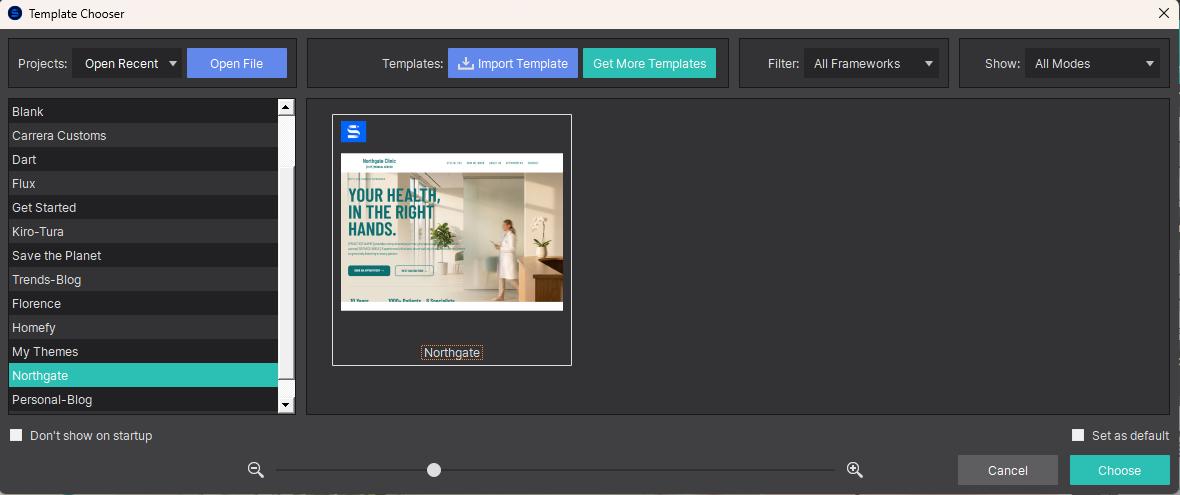
The Template Chooser dialog opens. In the left panel, click Northgate to select it, then click the preview thumbnail. Finally, click Choose in the bottom-right corner to open the project.

Template Chooser dialog with Northgate highlighted in the left panel and the Choose button circled at bottom right
Select Northgate in the left panel, click the preview, then click Choose

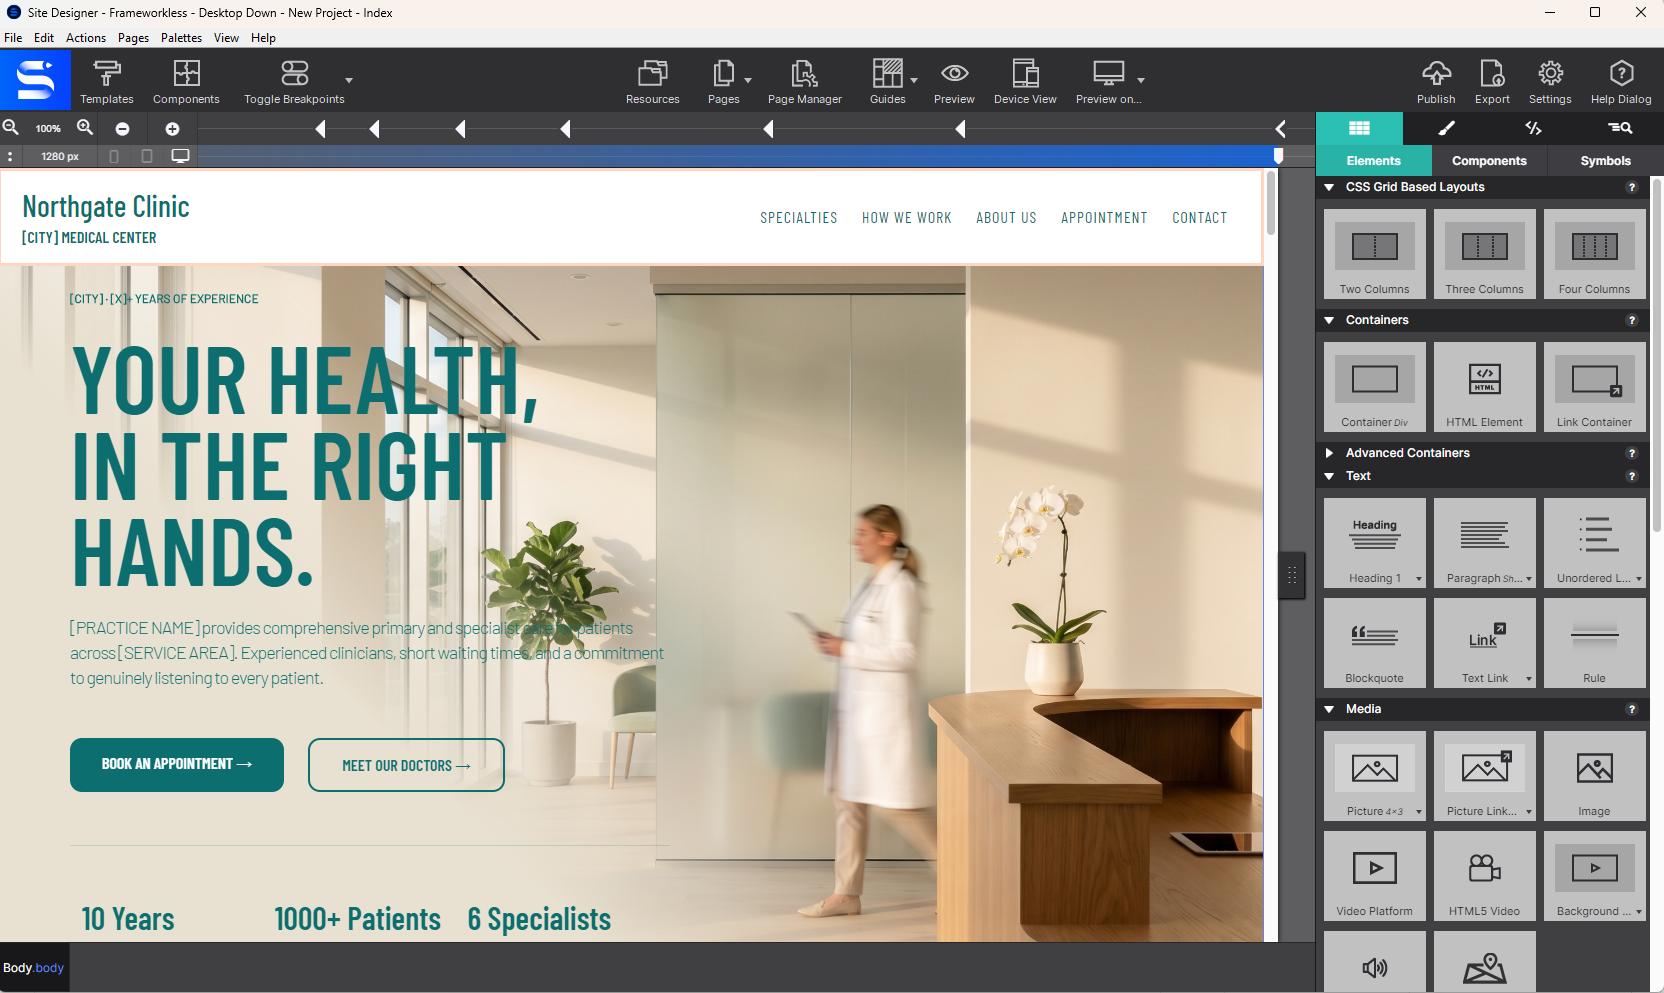
Site Designer opens the Northgate project on the canvas, ready to edit.

Site Designer canvas showing the Northgate Clinic template open with toolbar, canvas, and right panel visible
The Northgate template open in the Site Designer canvas
5

Save the project before making changes

Before editing anything, save the project: FileSave (or ⌘S / Ctrl+S). Choose a meaningful location — for example, C:\business\clinic\mca-health.rsd.

This creates the .rsd project file. Everything you do from here is saved in this file.

Site Designer does not auto-save. Use ⌘S / Ctrl+S frequently as you work.
03Upload your images
6

Open the Resources Manager

All images, fonts, and other project assets live in the Resources Manager. Click Resources on the main toolbar to open it.

Site Designer toolbar with the Resources button highlighted by a red circle
Click Resources on the toolbar to open the Project Resources window

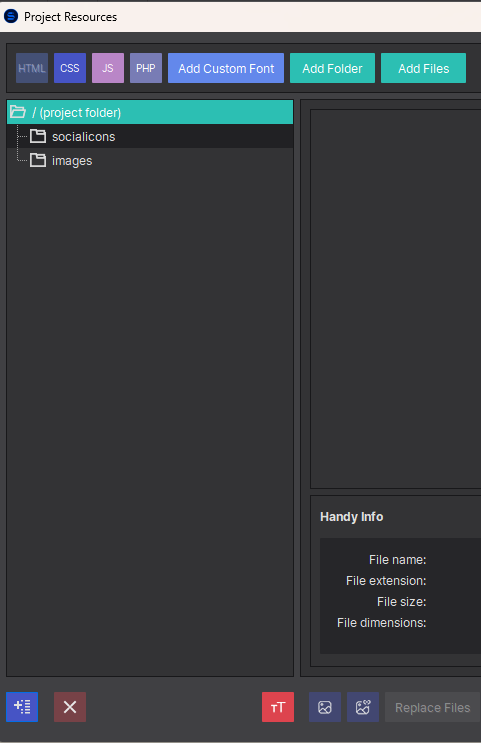
The Resources window opens. You'll see the project's existing asset folders: socialicons and images (the template's original stock photos).

Project Resources window showing the folder tree with socialicons and images folders, and the Add Folder button at bottom
The Project Resources window — your project's asset library
7

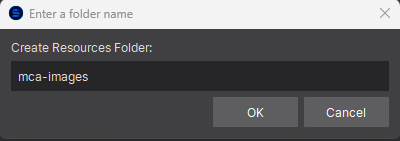
Create a folder for your images

Keep your custom photos in a separate folder to easily tell them apart from the template's stock images. Click the "+" icon at the bottom-left of the Resources window (or the Add Folder button at the top) to create a new folder.

'Create Resources Folder' dialog with the name 'mca-images' typed in and OK / Cancel buttons
Type a name for your folder (e.g. "my-images") and click OK
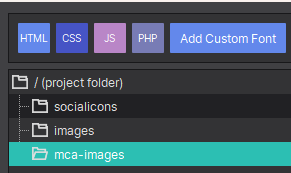
Resources folder tree showing the new mca-images folder highlighted in teal below the existing socialicons and images folders
The new folder appears in the tree, selected and ready for uploads
8

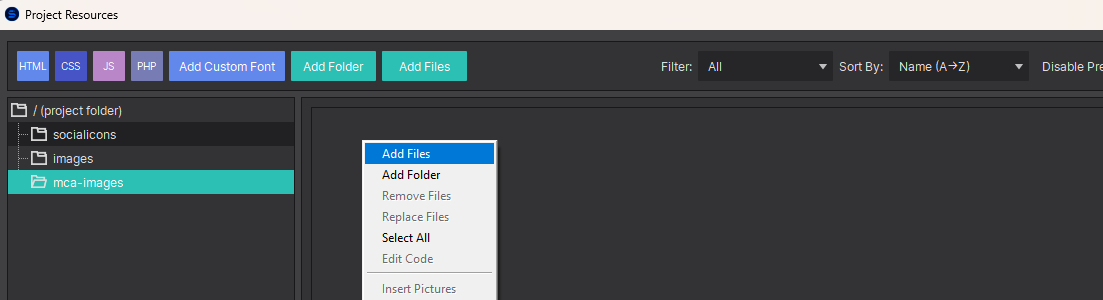
Upload your images to the folder

With your new folder selected, right-click the right-side panel and choose "Add Files" from the context menu.

Resources window with the right-click context menu open, showing 'Add Files' option highlighted in blue
Right-click the right panel with your folder selected, then choose Add Files

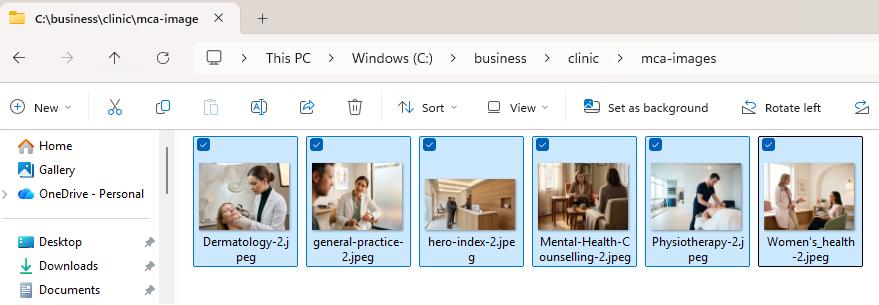
A file browser opens. Navigate to where your images are stored, select all the images you want to upload, and click Open.

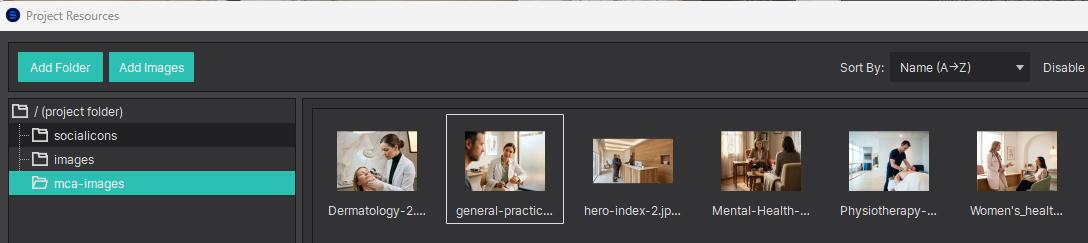
Windows file explorer showing a folder with 6 medical images selected (Dermatology, general-practice, hero-index, Mental-Health, Physiotherapy, Women's health)
Navigate to your images folder and select all the photos you want to use

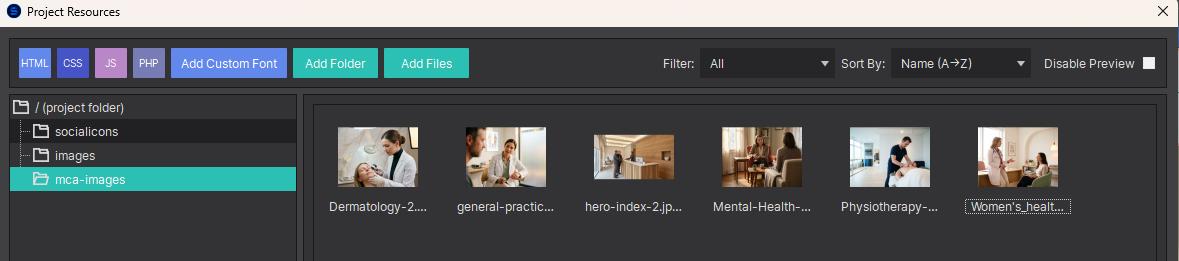
After uploading, your images appear as thumbnails in the right panel.

Project Resources window showing 6 uploaded image thumbnails in the right panel under the mca-images folder
Your custom images are now part of the project and ready to use anywhere on the canvas
For best results, resize hero images to 2000–2500 px wide before uploading. Supported formats: JPEG, PNG, WebP, SVG, GIF.
04Replace images on the canvas
9

Replace the hero background image

The large header image is a CSS background image on a container element — not a standard <img> tag. Replacing it requires the Styles panel.

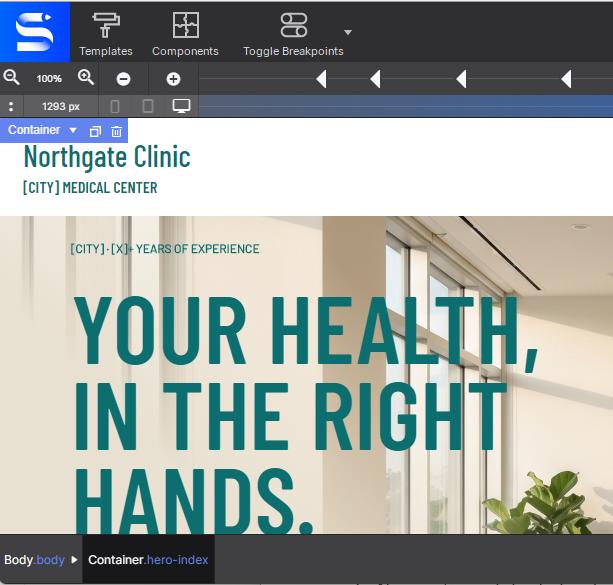
  1. Select the hero container. Click the top-left area of the hero section on the canvas. The breadcrumb at the bottom should show Body:body ▶ Container:hero-index.
Site Designer canvas with the hero container selected, showing 'Container' in the breadcrumb at bottom. A red arrow points to the click location at top-left.
Click the top-left of the hero area — the breadcrumb should show Container:hero-index
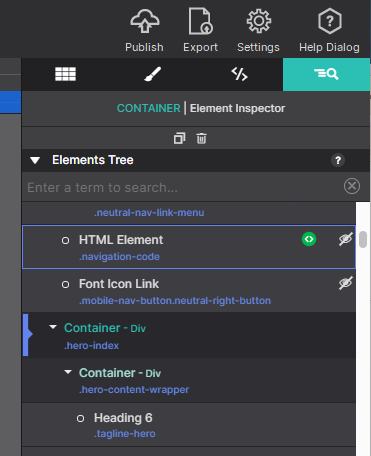
Can't select the container by clicking? Find Container - Div .hero-index in the Elements Tree in the Inspector panel on the right side of the app.
Inspector panel on the right side showing the Elements Tree with Container - Div .hero-index visible
Alternative: select Container:hero-index directly from the Elements Tree in the Inspector
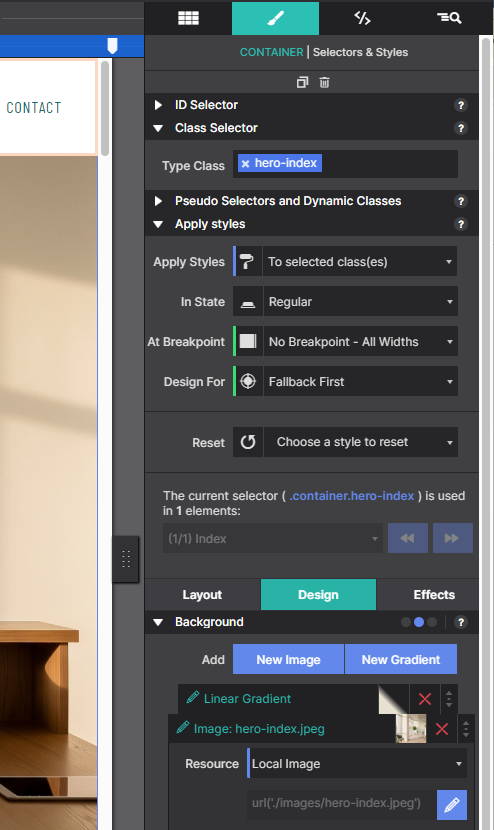
  1. Open the Styles panel. In the right panel, click the paintbrush icon (Selectors & Styles). Then click the Design tab and scroll to the Background section. Click the pencil (edit) icon next to "Image: hero-index.jpeg".
Selectors & Styles panel showing the Design tab with the Background section expanded. The image row 'Image: hero-index.jpeg' is visible with a pencil edit icon.
Design tab → Background section → click the pencil icon next to the current image
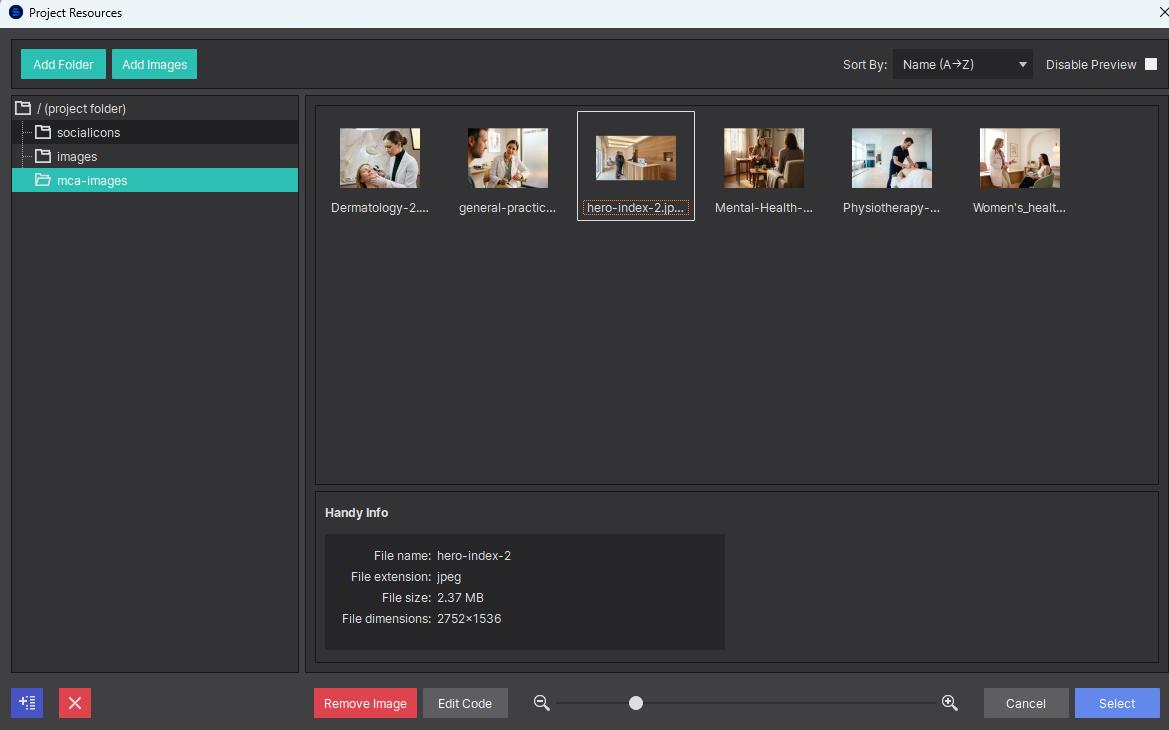
  1. Choose your new image. The Resources window opens with the current stock image highlighted. In the left panel, click your image folder (mca-images), select your new hero image, and click Select at the bottom-right.
Project Resources window with mca-images folder selected on left, the new hero-index-2 image highlighted in the right panel, and the Select button circled at bottom right
Navigate to your folder, select your new hero image, and click Select

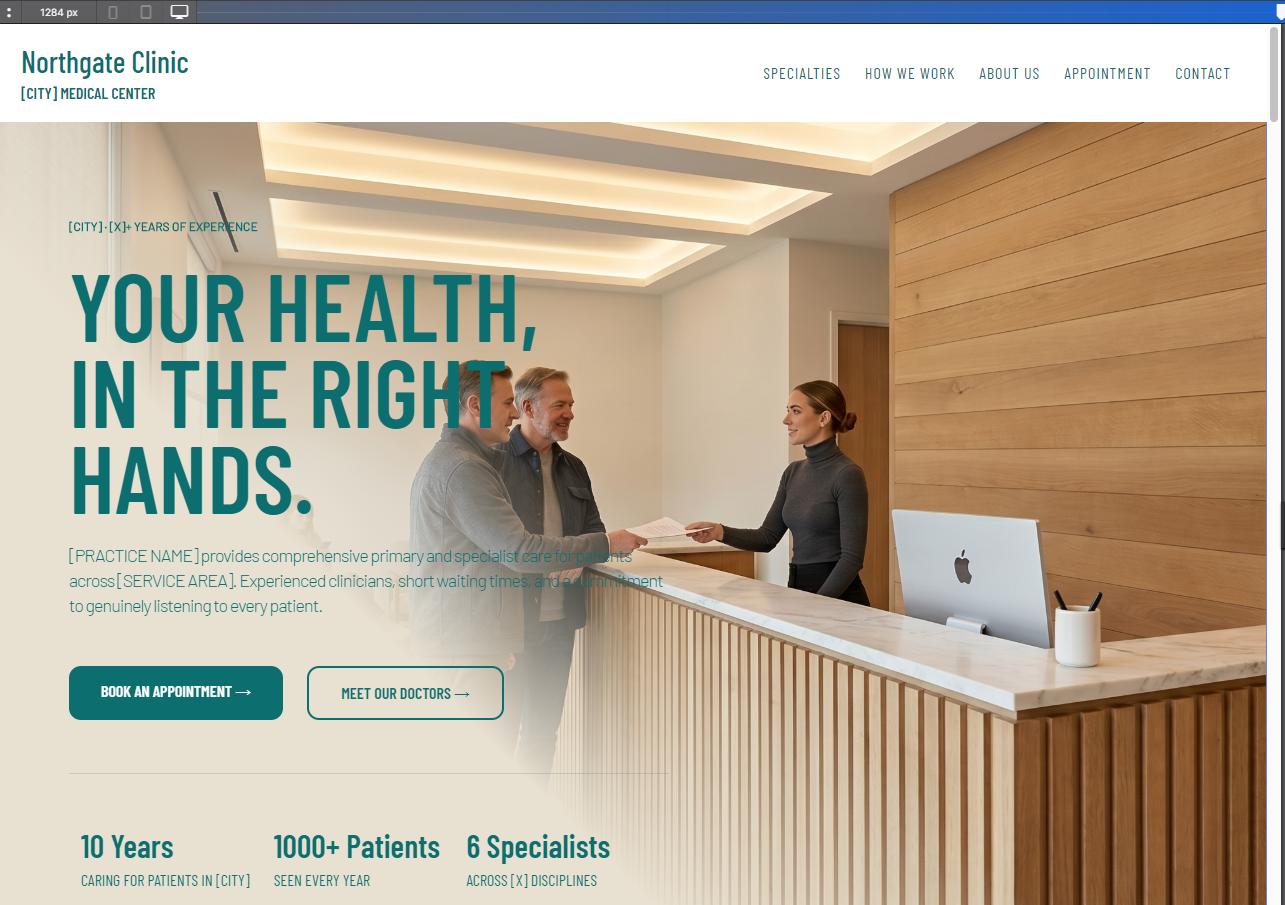
The hero section updates immediately with your new image.

Site Designer canvas showing the Northgate Clinic site with the new custom hero background image applied — a modern clinic reception area
The hero background is updated — the change is live on the canvas
10

Replace section images

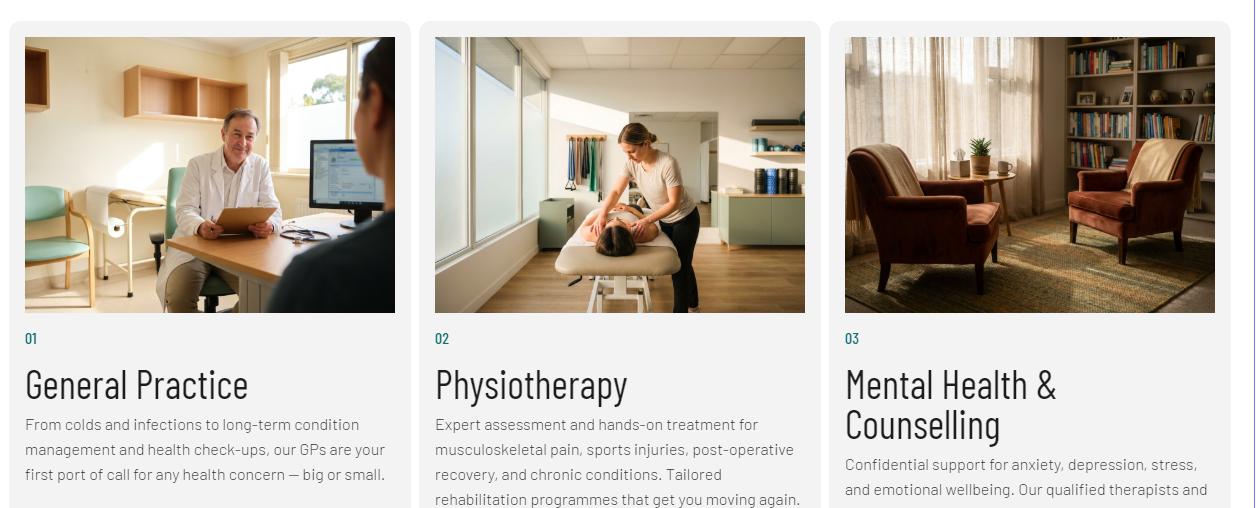
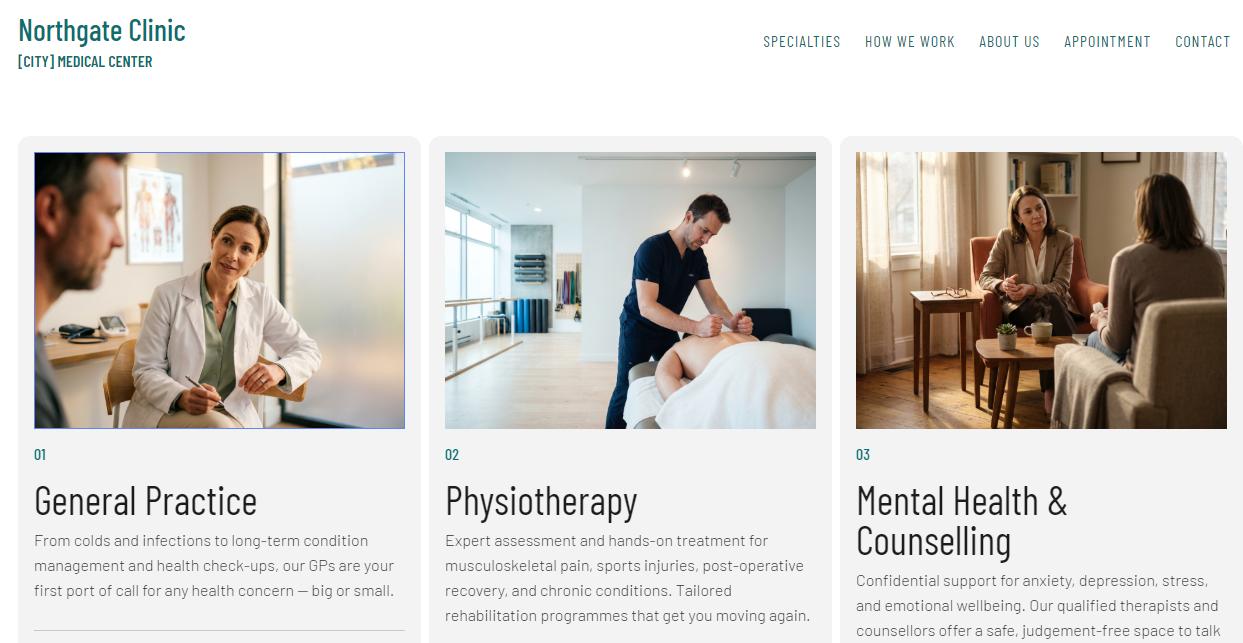
Below the hero, Northgate has three standard picture elements (General Practice, Physiotherapy, Mental Health). These use a different workflow — the Element Properties tab instead of the Styles panel.

The three section images on the Northgate canvas: General Practice (01), Physiotherapy (02), and Mental Health & Counselling (03)
The three section images to replace — General Practice, Physiotherapy, and Mental Health
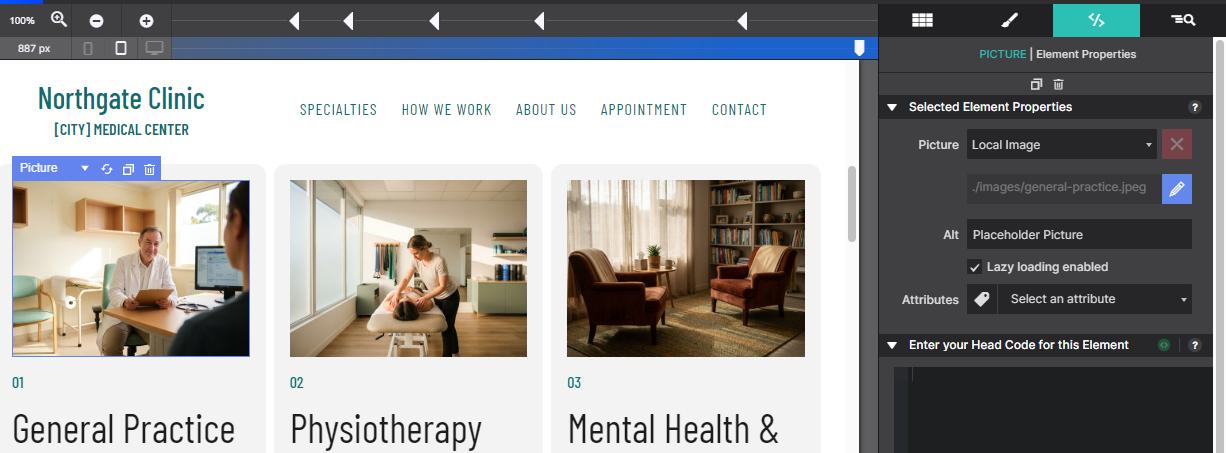
  1. Click a section image on the canvas to select it.
  2. In the right panel, click the </> (Element Properties) tab.
  3. Under Selected Element Properties, click the pencil icon next to the current image filename.
Site Designer canvas with a Picture element selected showing the Element Properties tab in the right panel, with the image file path and a pencil edit icon visible
Select a picture element → switch to the </> (Element Properties) tab → click the pencil icon
  1. The Resources window opens. Navigate to your folder, select the replacement image, and click Select.
Project Resources window with mca-images selected on left and the new general-practice-2 image highlighted in the grid, with the Select button circled
Select the replacement image from your folder and click Select
  1. Repeat for each remaining section image (Physiotherapy, Mental Health).
Site Designer canvas showing the Northgate Clinic site with all three section images updated to new custom photos
All three section images updated with your custom photos
Background vs. content images: If the element breadcrumb shows Container, it's a background image — use Step 9's approach (Styles panel). If it shows Picture, it's a content image — use this step's approach (Element Properties tab).
05Edit text content
11

Edit text content on the canvas

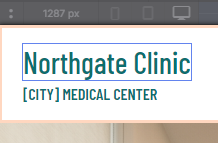
Text editing in Site Designer is direct — you click on the canvas, not in a panel. Double-click any text element to enter edit mode. If the element is nested, you may need to click two or three times to select the right level.

Close-up of the canvas showing 'Northgate Clinic' text with a red callout label saying 'Double-click on the text'
Double-click directly on the text to enter edit mode
  1. Double-click a text element. A cursor appears — you're in edit mode.
  2. Select and replace the text. Use Ctrl+A / ⌘A to select all text in the element, then type your replacement.
  3. Click outside to exit edit mode.
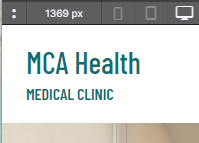
Canvas showing the updated text: 'MCA Health' on the first line and 'MEDICAL CLINIC' on the second line
After editing — "Northgate Clinic" became "MCA Health" and the subtitle was updated

Work through each section: clinic name, tagline, body copy, button labels, footer. The template uses placeholders like [PRACTICE NAME] and [CITY] — search for brackets to find everything that needs updating.

Save with ⌘S / Ctrl+S every few minutes as you edit. It only takes a second and protects your work.
06Publish your site
12

Preview, then publish your site

Click Preview in the toolbar to review your site in a real browser. Check every page — images, navigation, links, and text. When you're happy, choose your publishing method:

S-Drive — one click Fastest option

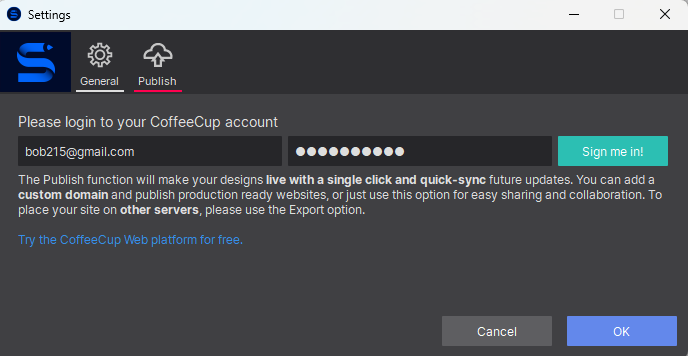
Click Settings on the toolbar → select the Publish tab → enter your CoffeeCup email and password → click Sign me in!

Settings dialog open on the Publish tab showing the CoffeeCup account login form with email, password, and 'Sign me in!' button
Settings → Publish tab — sign in with your CoffeeCup account

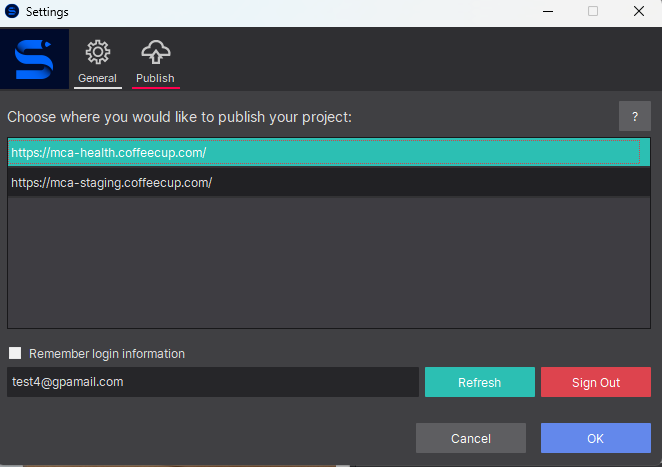
Once logged in, the site chooser appears. Select the S-Drive site you want to publish to and click OK.

S-Drive site chooser dialog showing 'https://mca-health.coffeecup.com/' highlighted in teal and a second staging site below it
Choose which S-Drive site to publish to, then click OK

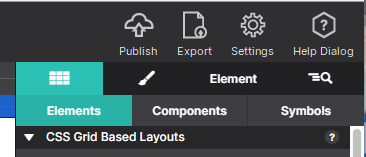
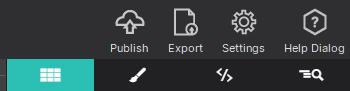
From now on, just press the Publish button on the main toolbar.

Site Designer toolbar close-up with the Publish button circled in red, next to Export, Settings, and Help Dialog buttons
The Publish button on the main toolbar — one click to go live

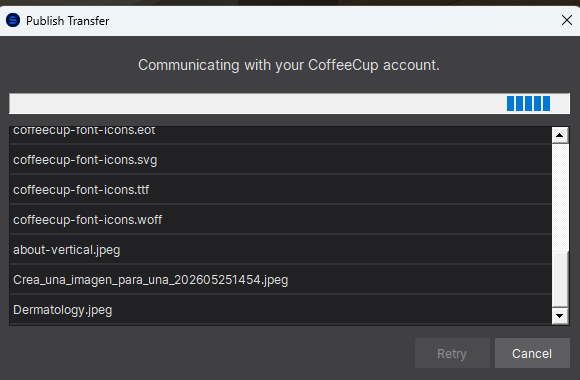
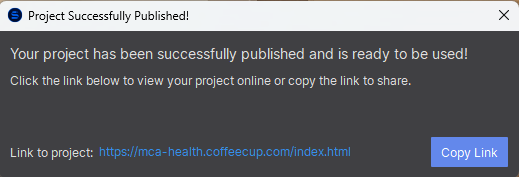
An upload progress window shows each file transferring. When complete, a success dialog gives you the live URL.

'Publish Transfer' dialog showing a progress bar and a list of files being uploaded to S-Drive
The upload progress window — files transfer automatically
'Project Successfully Published!' success dialog showing the live URL https://mca-health.coffeecup.com/index.html and a Copy Link button
Success! Click the link to see your live site
Full S-Drive setup guide
Your own server — FTP or cPanel For existing hosting plans

Click the Export button on the toolbar to generate a complete HTML/CSS/JS copy of your site.

Site Designer toolbar close-up with the Export button highlighted by a red circle
Click Export to generate your site files

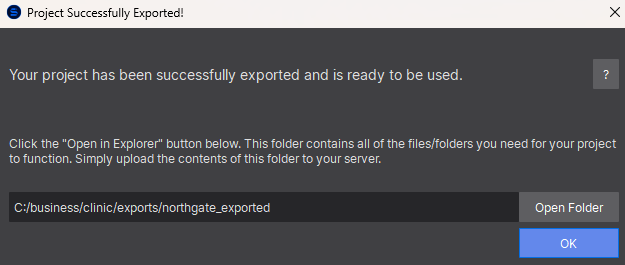
Select a destination folder and click OK. When the export is complete, a dialog confirms the location.

'Project Successfully Exported!' dialog showing the export path C:/business/clinic/exports/northgate_exported and an Open Folder button
Export complete — click Open Folder to see the generated files

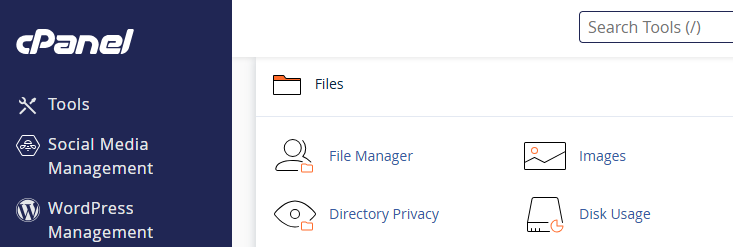
Now upload the exported files using FTP (Site Designer's built-in Direct FTP, or any FTP client like FileZilla) — or use cPanel File Manager if your host provides it:

cPanel dashboard showing the Files section with File Manager, Images, Directory Privacy, and Disk Usage options
cPanel dashboard — open File Manager under the Files section
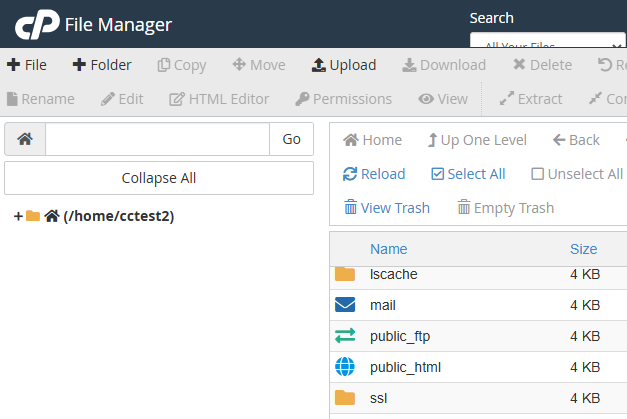
cPanel File Manager showing the Upload button in the toolbar and the public_html folder in the directory tree
Upload your exported files into the public_html folder — or upload a .zip and use Extract
Export & upload guide

Your site is live!

You've just customized a professional template and published a real website. This same workflow works for every template in the gallery — swap images, update text, publish.