Text Elements
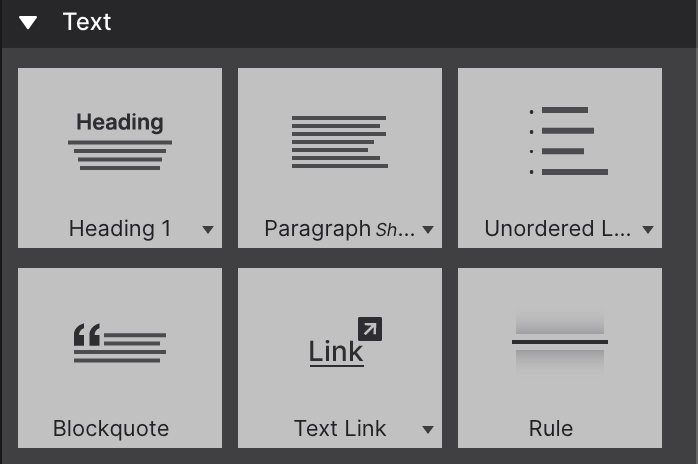
Text elements are the most fundamental building blocks in Site Designer. Every text element maps to a specific HTML tag, and choosing the right element affects both the appearance and the semantic meaning of your content — which matters for accessibility and SEO.
Heading elements (H1–H6)
Site Designer offers six heading levels, mapping directly to the HTML tags <h1> through <h6>.
| Element | HTML tag | Typical use |
|---|---|---|
| Heading 1 | <h1> | Page title — one per page |
| Heading 2 | <h2> | Major section titles |
| Heading 3 | <h3> | Subsection titles |
| Heading 4–6 | <h4>–<h6> | Nested sub-sections, rarely needed |
To insert a heading, drag any Heading element from the Content pane’s Elements subpanel onto the canvas and type your heading text. You can also double-click the canvas to activate the insert mode and pick a heading level from the toolbar that appears.
Paragraph element
The Paragraph element creates a <p> tag — the standard element for body text. It wraps text in a block-level container with default top and bottom margins that create visual separation between paragraphs.
Drag a Paragraph from the Content pane’s Elements subpanel, drop it on the canvas, and type your content. Press Enter for a new line within the same paragraph, or click outside the element to deselect and then insert a new Paragraph element for a new block.
Span element
The Span element is an inline wrapper (<span>) that applies a class or style to a portion of text without breaking the flow. Use it when you need to:
- Color a single word differently from the surrounding text
- Apply a CSS class to a phrase for animation targeting
- Wrap a specific piece of text for JavaScript selection
To insert a Span, highlight a portion of text inside any text element and click the Wrap in Span button that appears in the mini text toolbar above the selection.
Link element
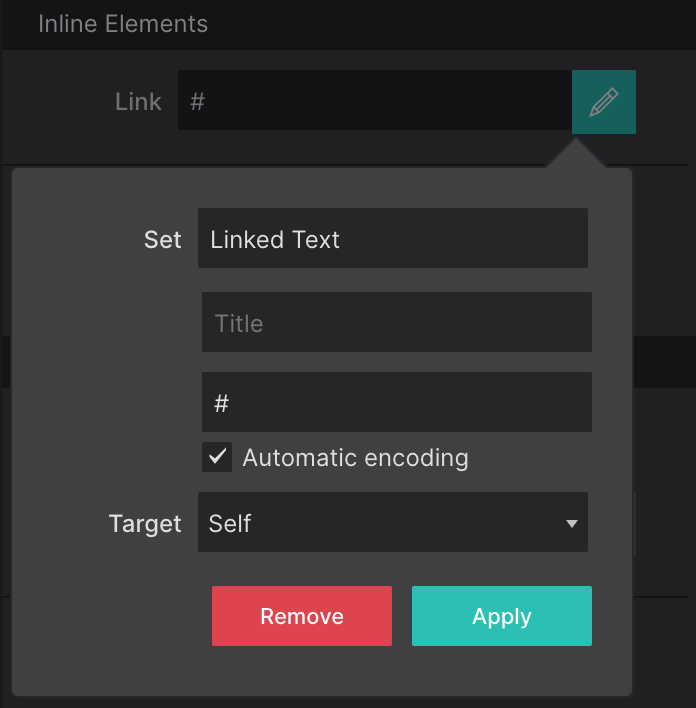
The Link element creates an anchor (<a>) that can wrap text, images, or even entire containers. Configure it under Element pane → Selected Element Properties → HREF:
- URL: Enter an external URL, or click the page-picker icon to link to an internal page
- Target:
_self(same tab, default) or_blank(new tab) - Title: An accessibility label shown on hover and read by screen readers
- Rel: Set to
noopener noreferrerwhen using_blankfor security
Blockquote element
The Blockquote element wraps a quotation in a <blockquote> tag. Use it for extended quotations — excerpts from articles, testimonials, or pull quotes. By default it renders with left-border styling, but you can fully restyle it through the Style pane.
For attribution (the source of the quote), insert a <cite> element inside the blockquote. In Site Designer, select the text you want to mark as a citation and choose Mark as Citation from the mini toolbar.
List elements
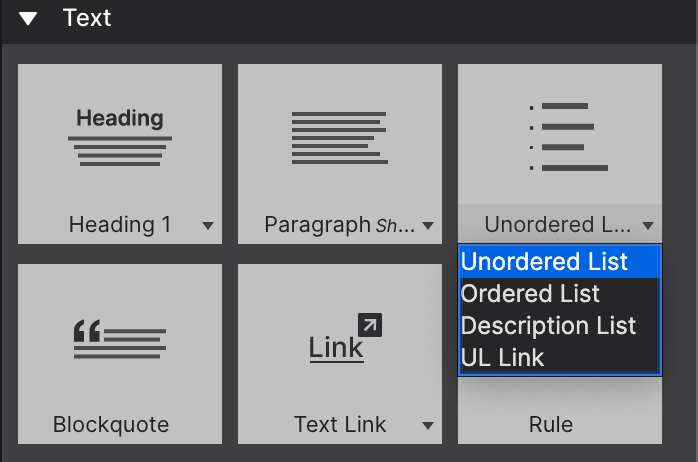
Site Designer offers two list types:
- Unordered list (
<ul>) — bullets, for items with no inherent order (features, ingredients, links) - Ordered list (
<ol>) — numbered, for items with a required sequence (steps, rankings)
Each list contains List Item (<li>) elements. When you insert a list element, Site Designer creates a default set of three items. Click any item to edit its text. Press Enter at the end of an item to add a new one below it.
To create a nested list (sub-items), click at the start of a list item and press Tab to indent it one level.
Inline editing
Double-click any text element on the canvas to enter inline edit mode. The element’s border turns blue and a cursor appears. You can type, select text, and use standard keyboard shortcuts (Ctrl+B / Cmd+B for bold, Ctrl+I / Cmd+I for italic).
The mini text toolbar
When text is selected inside an element, a floating mini toolbar appears above the selection with common formatting options:
- B — Bold (wraps selection in
<strong>) - I — Italic (wraps selection in
<em>) - U — Underline (adds underline styling)
- Link — Wraps selection in an anchor tag
< >— Wraps selection in<code>for inline code- Character map — Opens a searchable list of Unicode characters and symbols
Applying classes to text elements
Select any text element, open the Styles pane on the right, and type a class name in the Class field. This adds the class to the element’s HTML tag, letting you target it with CSS you write in the Style Editor or in a linked stylesheet.
You can add multiple classes separated by spaces (e.g., hero-title text-gradient).
Mailto element
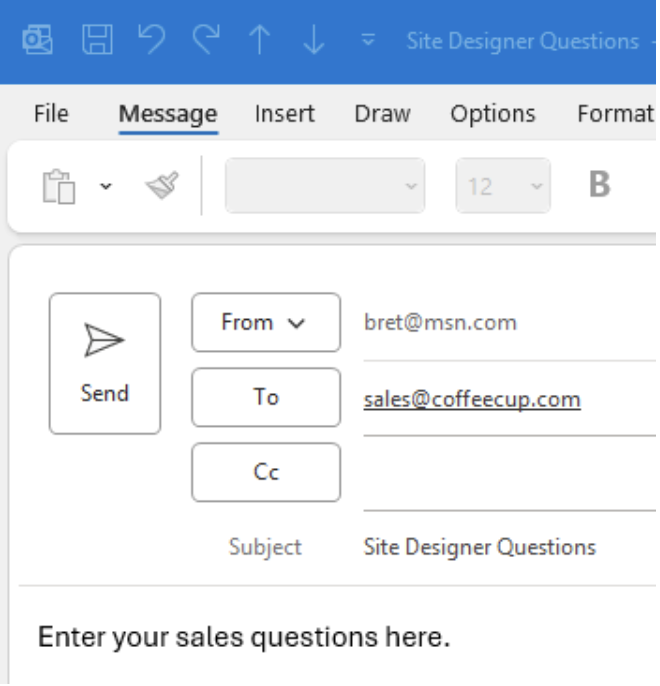
The Mailto element lets you create mailto: links and specify the subject, one or more recipients, Cc and Bcc fields, and the email body — all without writing the URL by hand.
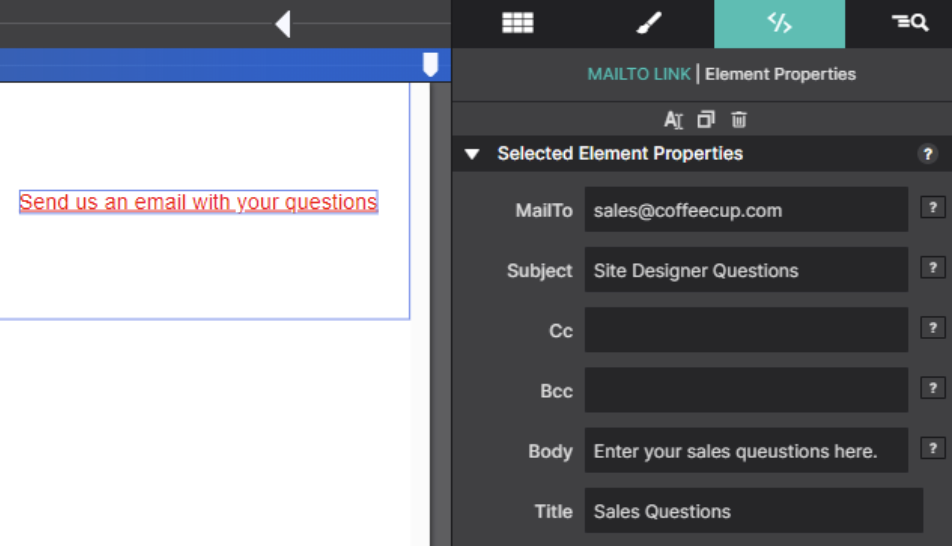
The Mailto fields can be entered or edited in the Element pane → Selected Element Properties.
The Cc, Bcc, and Body fields are optional. A multi-line body can be created using \n as a line separator. For example, if the body text is:
Hello customer support,\nPlease send me the user guide for your coffeemaker model CC1250
The email body will be:
Hello customer support,
Please send me the user guide for your coffeemaker model CC1250
When previewing or exporting, Site Designer generates a standard HTML mailto: link and URL-encodes the text values automatically.
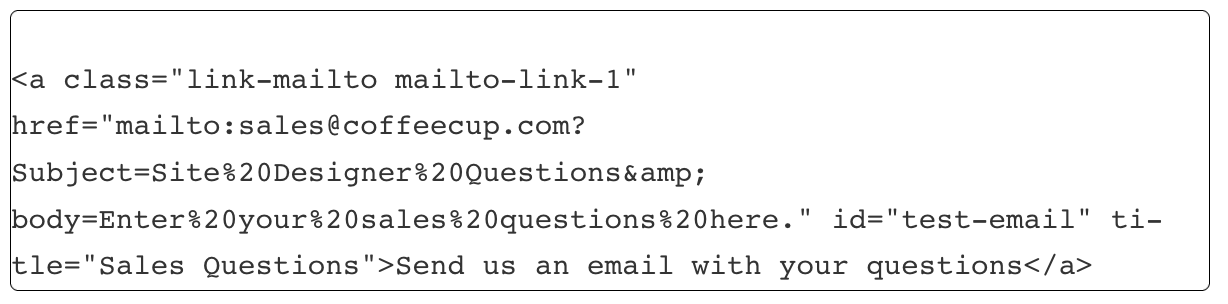
When the link is clicked, the visitor’s mail app opens with the fields pre-populated.