
Live Preview
Live Preview writes your project into a folder that a local web server is already serving, and opens the browser on that server’s URL instead of on a file path. Because the page is fetched over http://, server-side code runs — which is what makes it the way to test PHP pages without uploading them anywhere.
What you need
- CoffeeCup Site Designer.
- A web server running locally, with PHP — either XAMPP or stand-alone PHP.
- A modern web browser.
Setting up the local server
There are several ways to get a server with PHP running on your machine:
- Install a package such as XAMPP or WAMP, which bundles every component you need.
- Install the components separately — web server and PHP.
- On Windows, install WSL (Windows Subsystem for Linux) and run PHP inside a Linux environment.
Which one is right depends on what you need to test:
- PHP without a database — install PHP and use its built-in web server. CoffeeCup has a walkthrough: How to install PHP on Windows for local testing.
- PHP with a MySQL database — install a complete package such as XAMPP. CoffeeCup covers the setup in this article.
XAMPP runs on both Windows and macOS; WAMP is Windows-only. Since Site Designer runs on both platforms, XAMPP is the safer default.
Configuring Live Preview in Settings
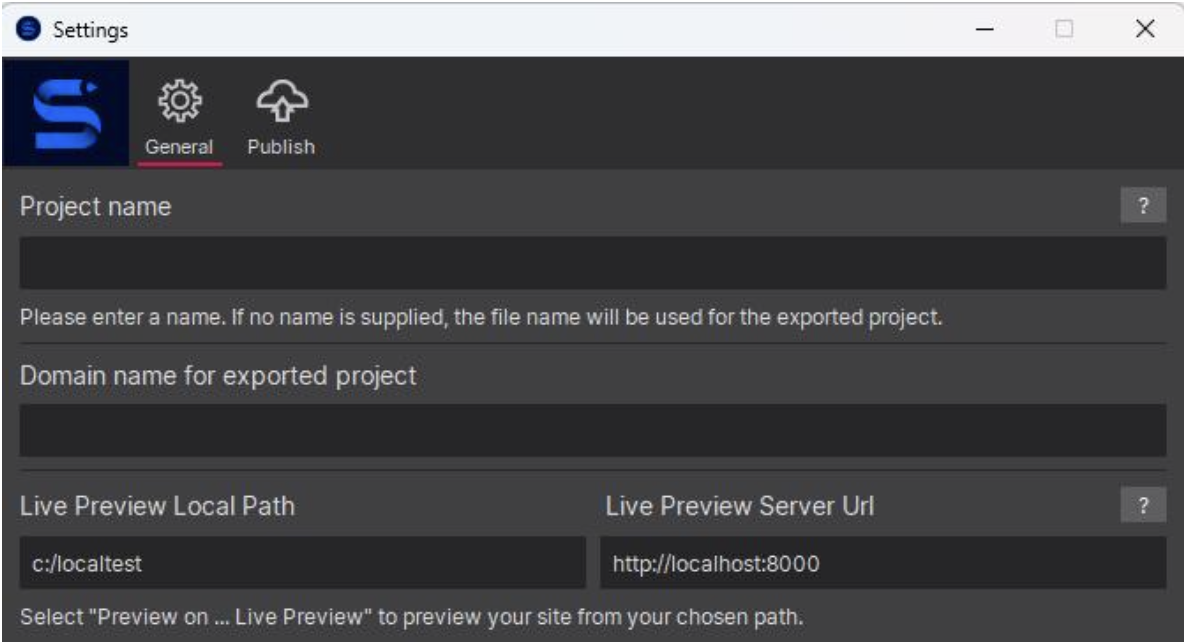
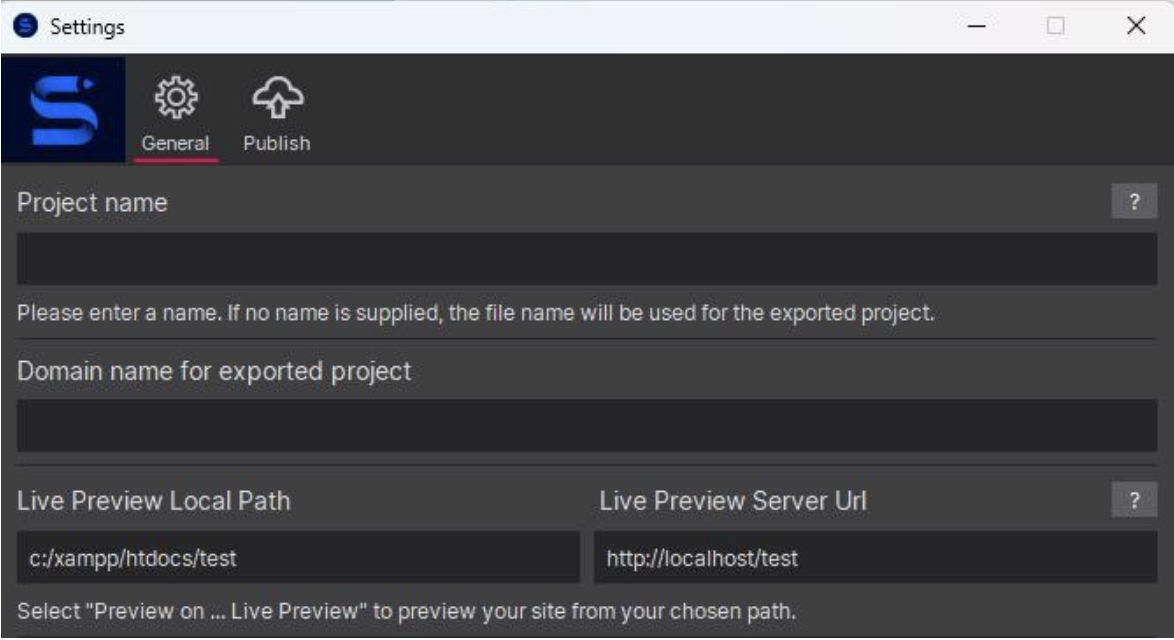
Open Settings → General. Two fields control Live Preview:
- Live Preview Local Path — the folder on your computer where Site Designer places the files. This has to be the directory your web server serves (with XAMPP that’s usually somewhere under
htdocs). - Live Preview Server Url — the address the browser opens on preview. It has to be an
http://orhttps://URL, not a local file path, and it has to match the URL your local web server answers on.
A typical setup for stand-alone PHP with its built-in server:
And a typical setup for XAMPP with PHP and MySQL:
Common local URLs
Most local installations answer on one of these:
http://localhost/http://127.0.0.1/http://localhost/project-name/
A single page then resolves to something like http://localhost/test.php.
Previewing a PHP page
-
Set the page extension to .php
In Site Designer, create a test page and change its file extension to
.php.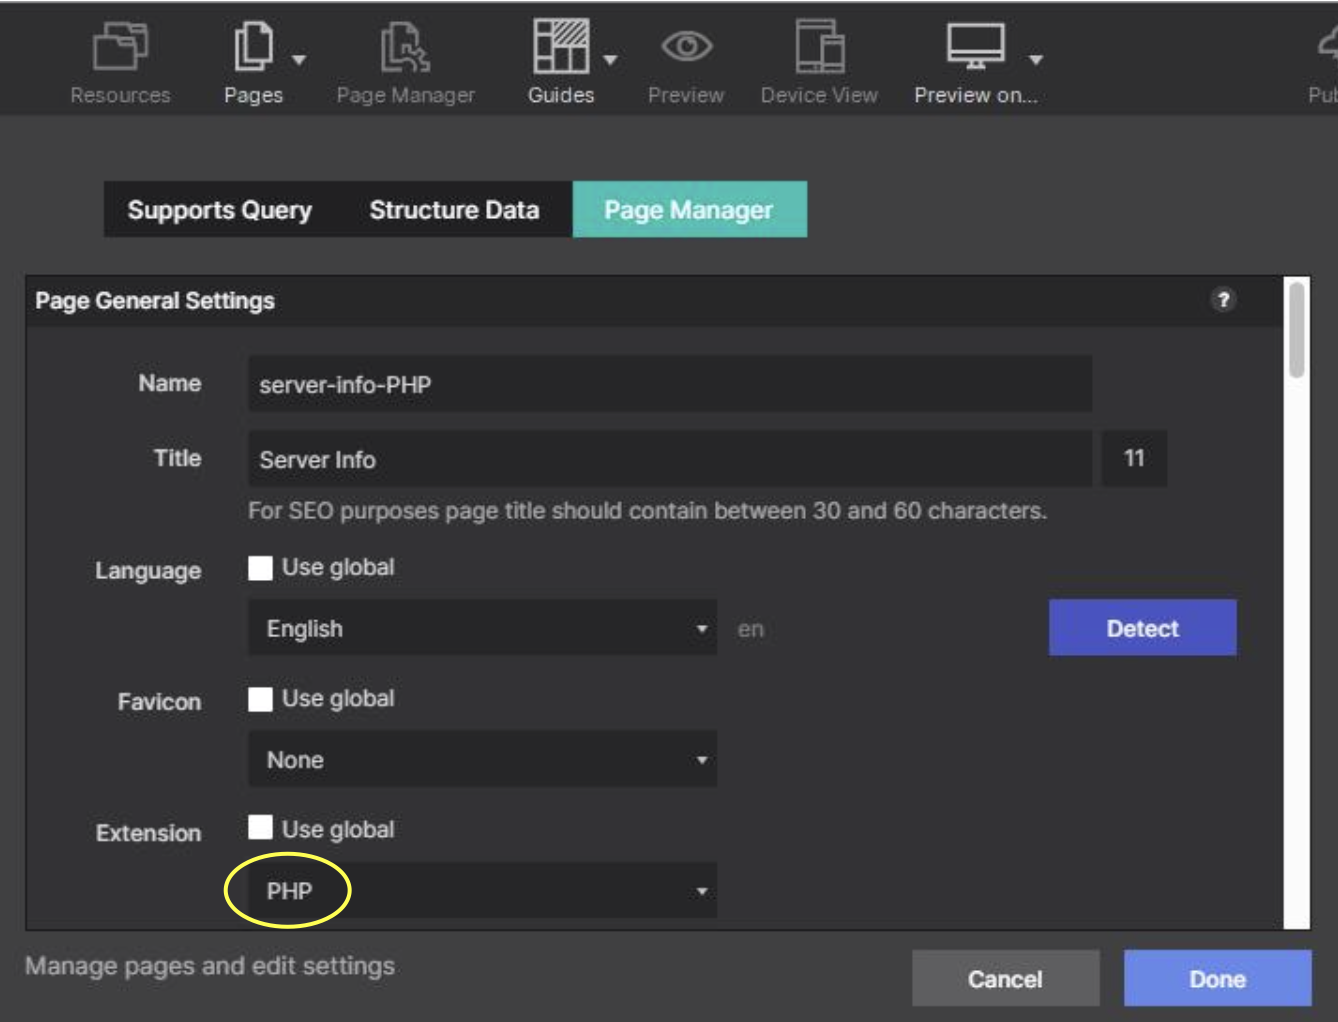
-
Add your PHP code
In this example,
phpinfo()prints information about the PHP installation and its configuration.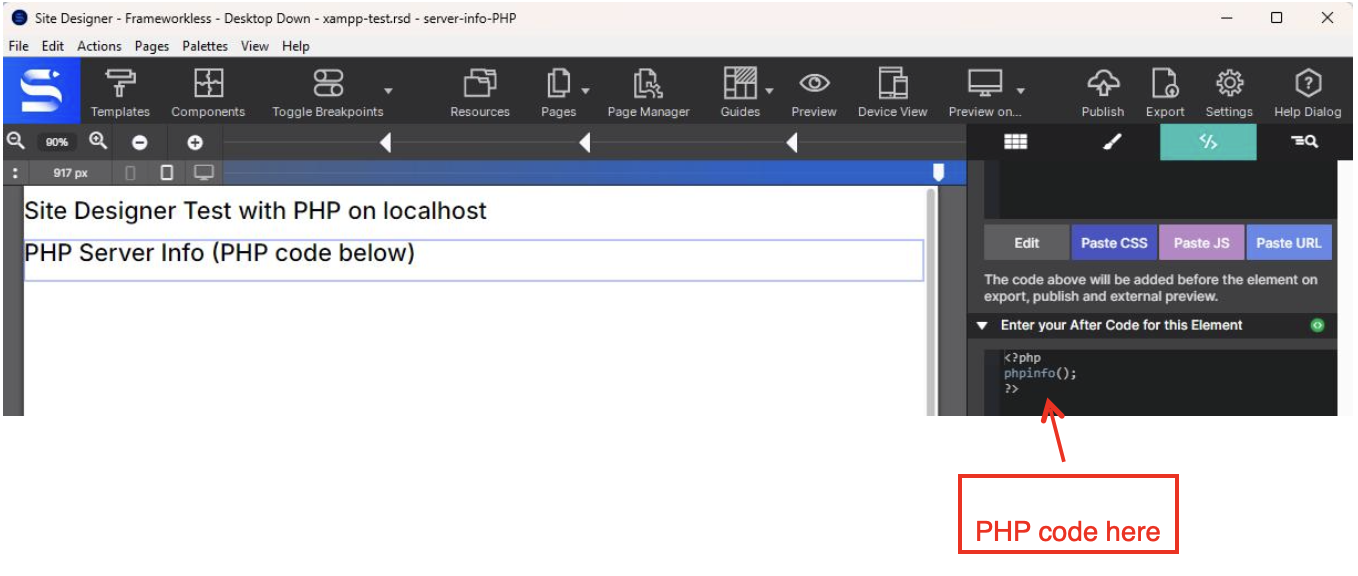
-
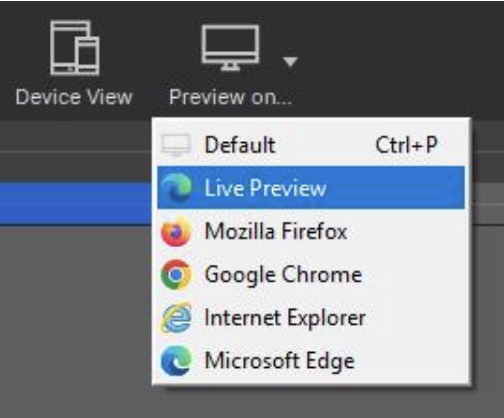
Select Preview on → Live Preview
-
Check the result in the browser
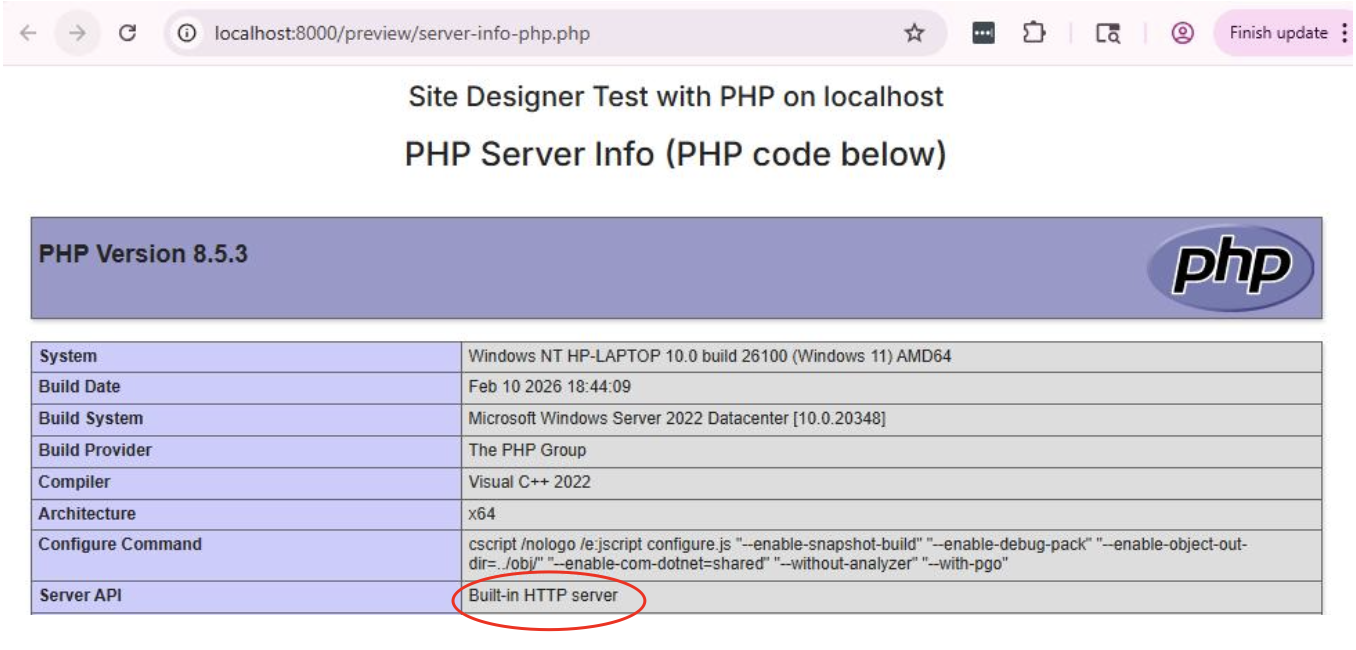
The page opens at the address you entered in Live Preview Server Url. With PHP’s built-in web server, the test page looks like this:
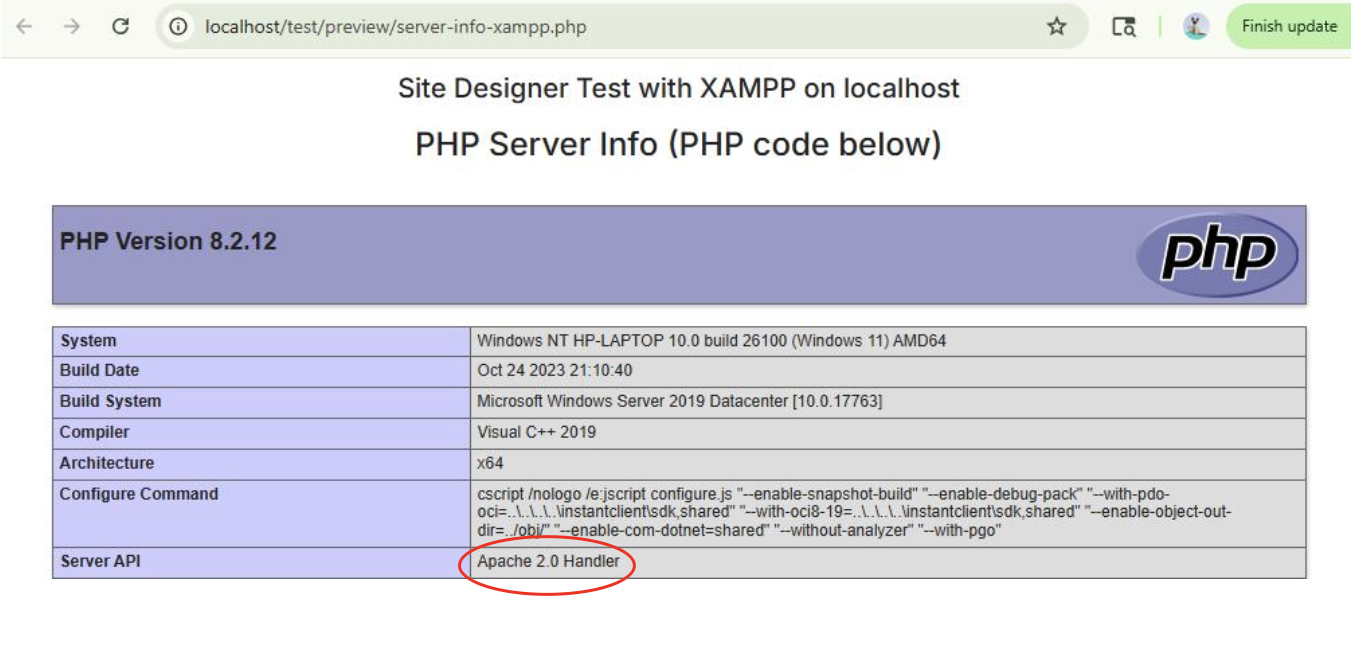
With XAMPP, it looks like this:
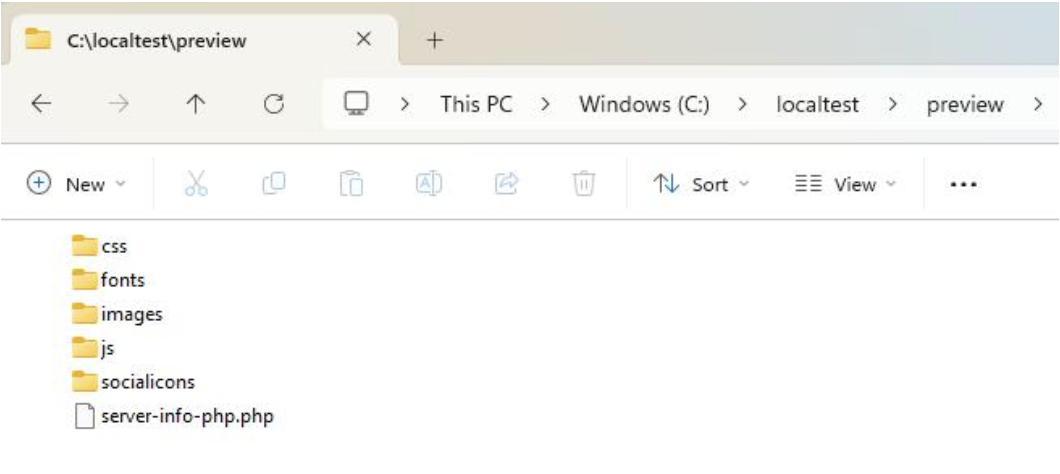
After previewing, you’ll find the exported file sitting in the folder you set as Live Preview Local Path:
Troubleshooting
If Live Preview doesn’t execute your PHP code:
- Using XAMPP? Make sure Apache is running, and check the XAMPP log files.
- Using stand-alone PHP? Make sure its built-in web server is running, and check the terminal output.
- Verify the file extension is
.php. - Confirm Live Preview Server Url starts with
http://orhttps://. - Make sure the file ends up inside the web server’s directory — for XAMPP that’s usually
htdocs.