
What's new — build 3626
Build 3626 · Released March 2026 · CoffeeCup’s original notes
Build 3626 is the current release of Site Designer. Its headline feature is local server-side testing — PHP pages now run through Live Preview on your own machine — alongside two new elements, a breakpoint clean-up action, and Twitter/X card settings in the Page Manager.
What’s in this release
Live Preview for PHP
Test server-side files on your own machine, no upload required.
Server-Side Code field
Run a block of code above the DOCTYPE declaration.
Mailto element
Build mailto links from real fields — subject, Cc, Bcc, body.
Image element
A bare img tag on the canvas, with no div wrapper around it.
Remove empty breakpoints
An Actions item that clears breakpoints holding no styles.
Twitter/X cards
Card types for social previews, next to Open Graph settings.
Live Preview: test server-side files locally
The custom preview path introduced in the previous build is now called Live Preview, and it exports PHP files to the configured directory. If you have a LAMP stack installed locally — or a local directory shared with a Linux server — you can test both the front end and the back end of a project on your own machine.
Specify a base URL for Live Preview
Testing PHP means the browser has to open an http:// or https:// address rather than a local file path, so this build adds a second Live Preview field in Settings:
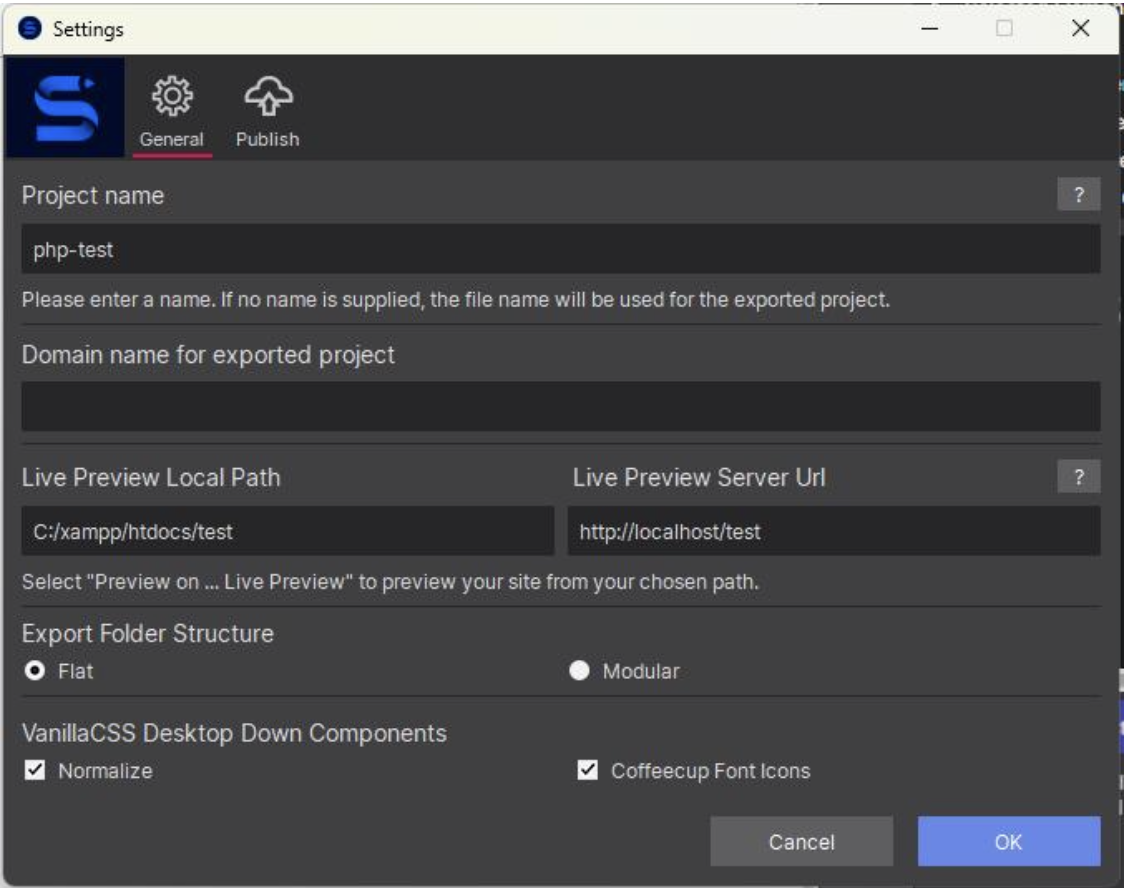
- Live Preview Local Path — where the files are written. In this example XAMPP is installed, so the path is
c:\xampp\htdocs\test. - Live Preview Server Url — the address the browser opens. Here it’s
http://localhost/test, matching the web server running on the same machine.
Previewing a PHP page
-
Build the page
Create a page and put your server-side code in Enter your After Code for this Element.
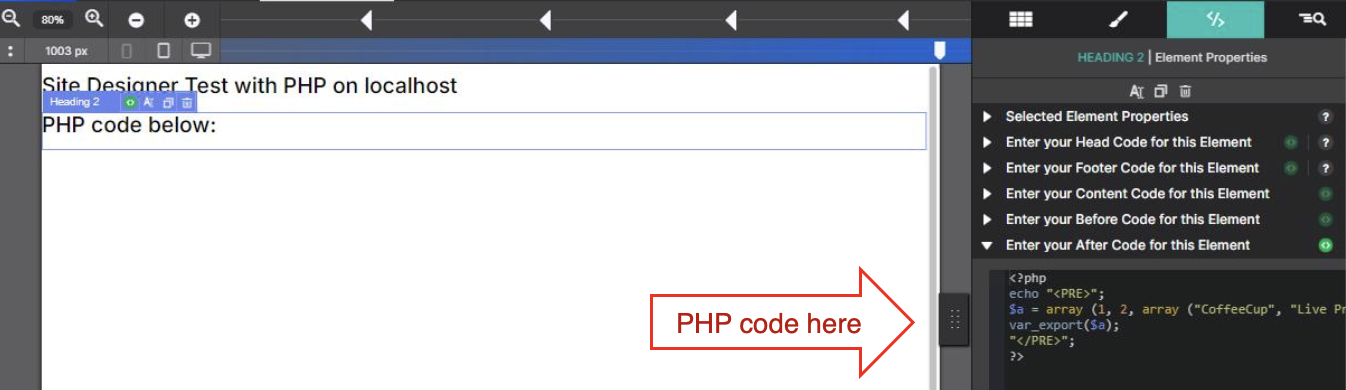
<?php echo "<PRE>"; $a = array (1, 2, array ("CoffeeCup", "Live Preview", "Works!")); var_export($a); "</PRE>"; ?> -
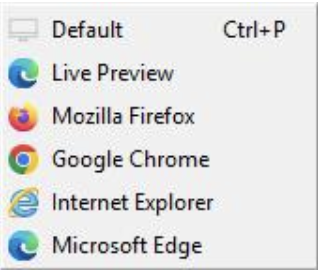
Choose Preview on → Live Preview
-
Read the result in the browser
The file lands in
c:\xampp\htdocs\test\previewand the browser openshttp://localhost/test/preview/php-test.php— the PHP has executed, so you see the exported array rather than the source.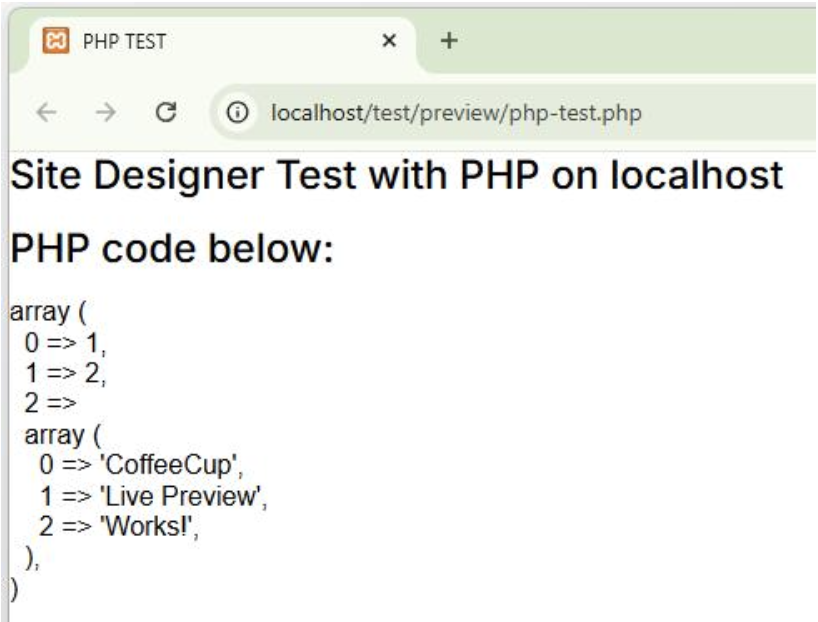
Live Preview covers the whole setup, including troubleshooting when the code doesn’t run.
Server-side code before the DOCTYPE
Some server-side logic has to run before the first line of HTML. Page General Settings now has a Server-Side Code field for exactly that.
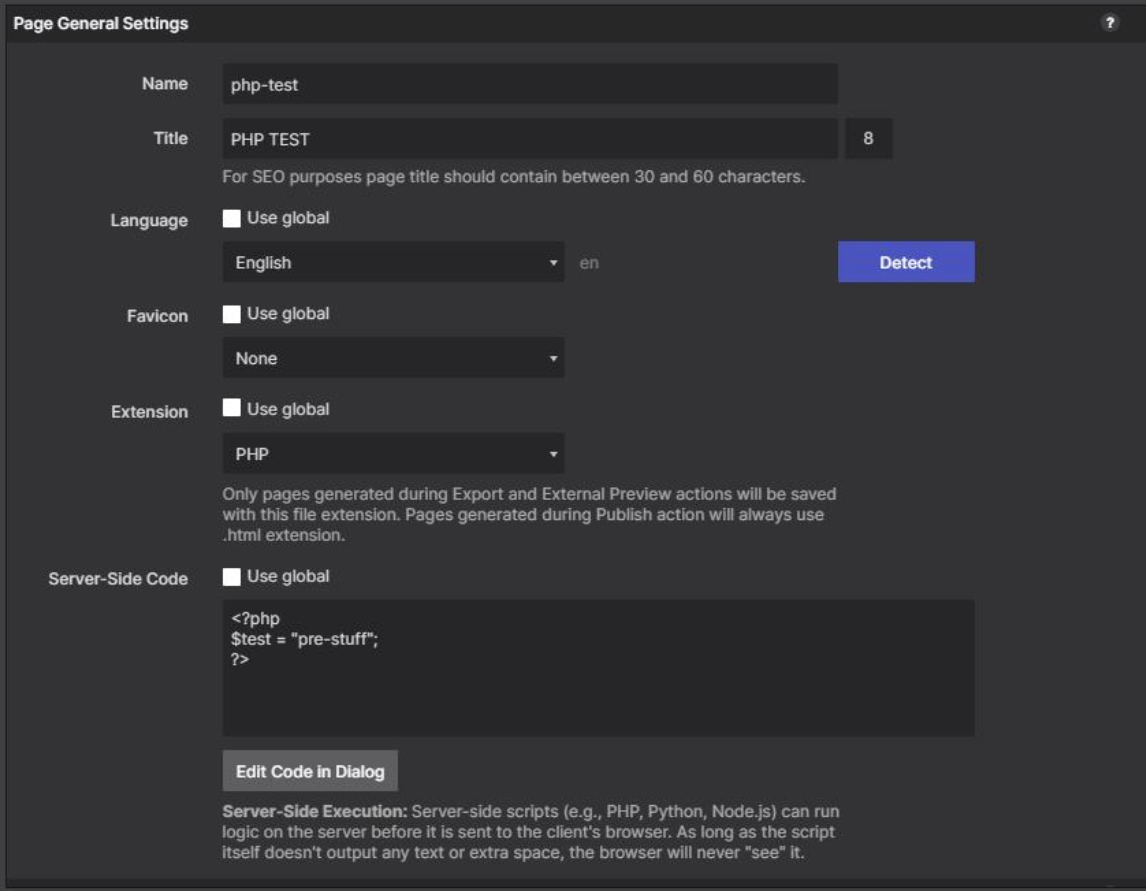
Whatever you enter is written above the <!DOCTYPE HTML> declaration.
New Mailto element
The MailTo Link element sits in the Text group of the Elements panel.
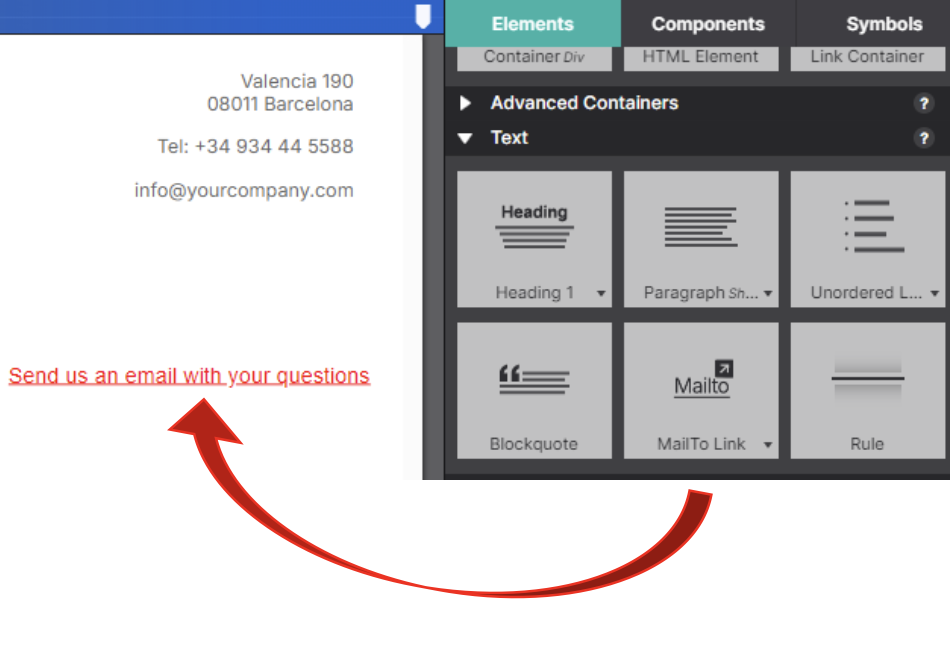
Its fields are edited in the Element Properties pane: the address, a subject, one or more recipients, and optionally Cc, Bcc and the message body.
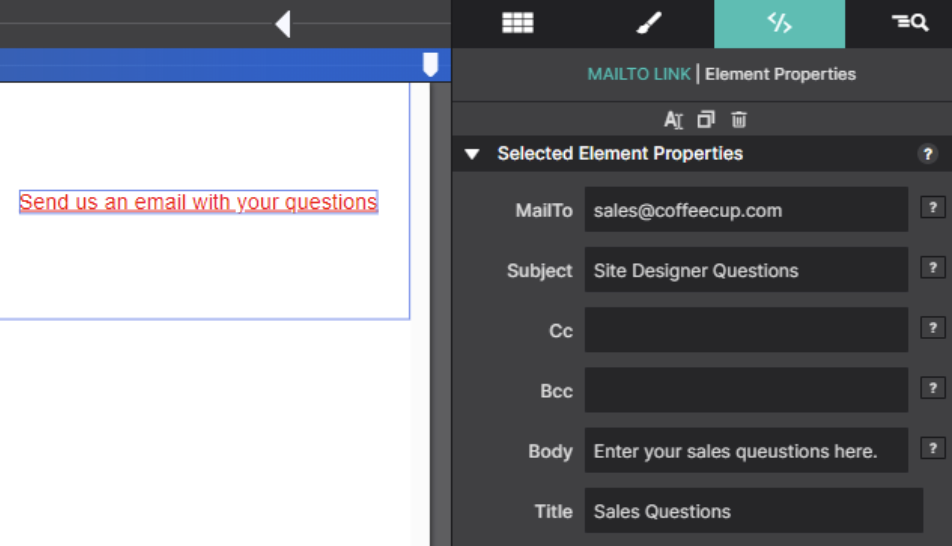
Use \n inside the body to split it across lines. So this body text:
Hello customer support,\nPlease send me the user guide for your coffeemaker model CC1250.
arrives as:
Hello customer support,
Please send me the user guide for your coffeemaker model CC1250.
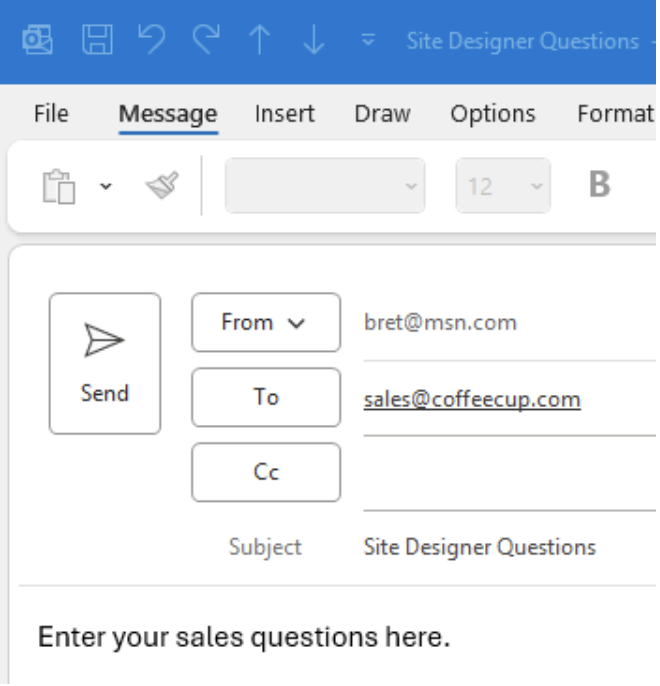
On preview and export, Site Designer writes a standard mailto link and URL-encodes the values for you:
<a class="link-mailto mailto-link-1"
   href="mailto:sales@coffeecup.com?Subject=Site%20Designer%20Questions&body=Enter%20your%20sales%20questions%20here."
   id="test-email" title="Sales Questions">Send us an email with your questions</a>
Clicking it opens the visitor’s mail app with every field already filled in.
New Image element
The Image element, in the Media group, adds a plain <img> tag to the canvas — unlike the Picture element, which comes wrapped in a div.
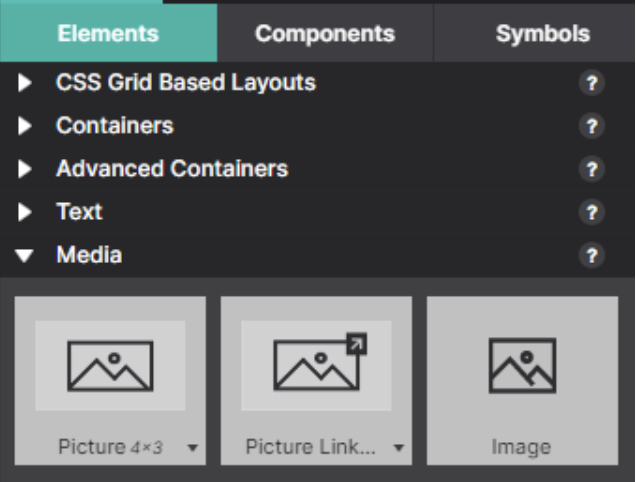
That wrapper is the reason this element exists. Custom JavaScript and plugins often need to reach the image’s own id or class, which is awkward when a div sits around it. With the Image element, the selectors you set in the Styles pane belong to the <img> itself.
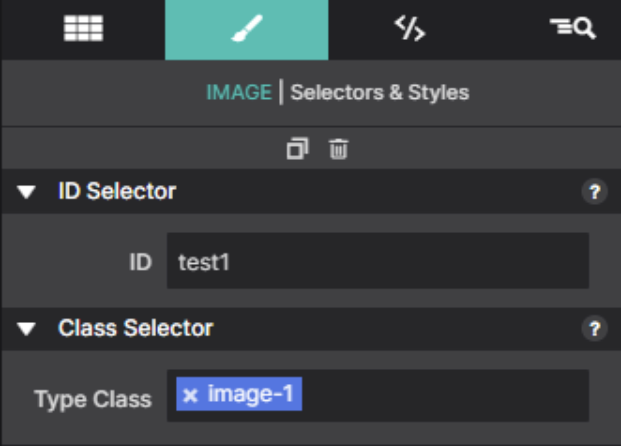
The export is exactly what you would write by hand — an img, no wrapper:
<img class="responsive-image image-1" alt="Placeholder Image" src="./images/neonbrand.jpg" id="test1">
Remove empty breakpoints
Empty breakpoints accumulate through ordinary editing — a mis-click, or moving every style out of one breakpoint and into another. Actions → Remove Empty Breakpoints clears them out.
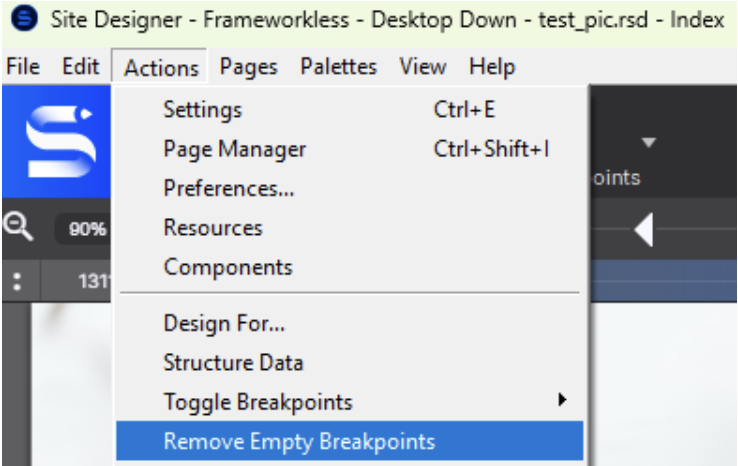
Default breakpoints, and the fixed breakpoints each framework defines, are never removed.
Twitter and X cards in the Page Manager
The Open Graph area of the Page Manager gained a Twitter/X Cards Settings section. Pick a type from the X Card Type list — summary, summary_large_image, app or player — or No Card to switch cards off.
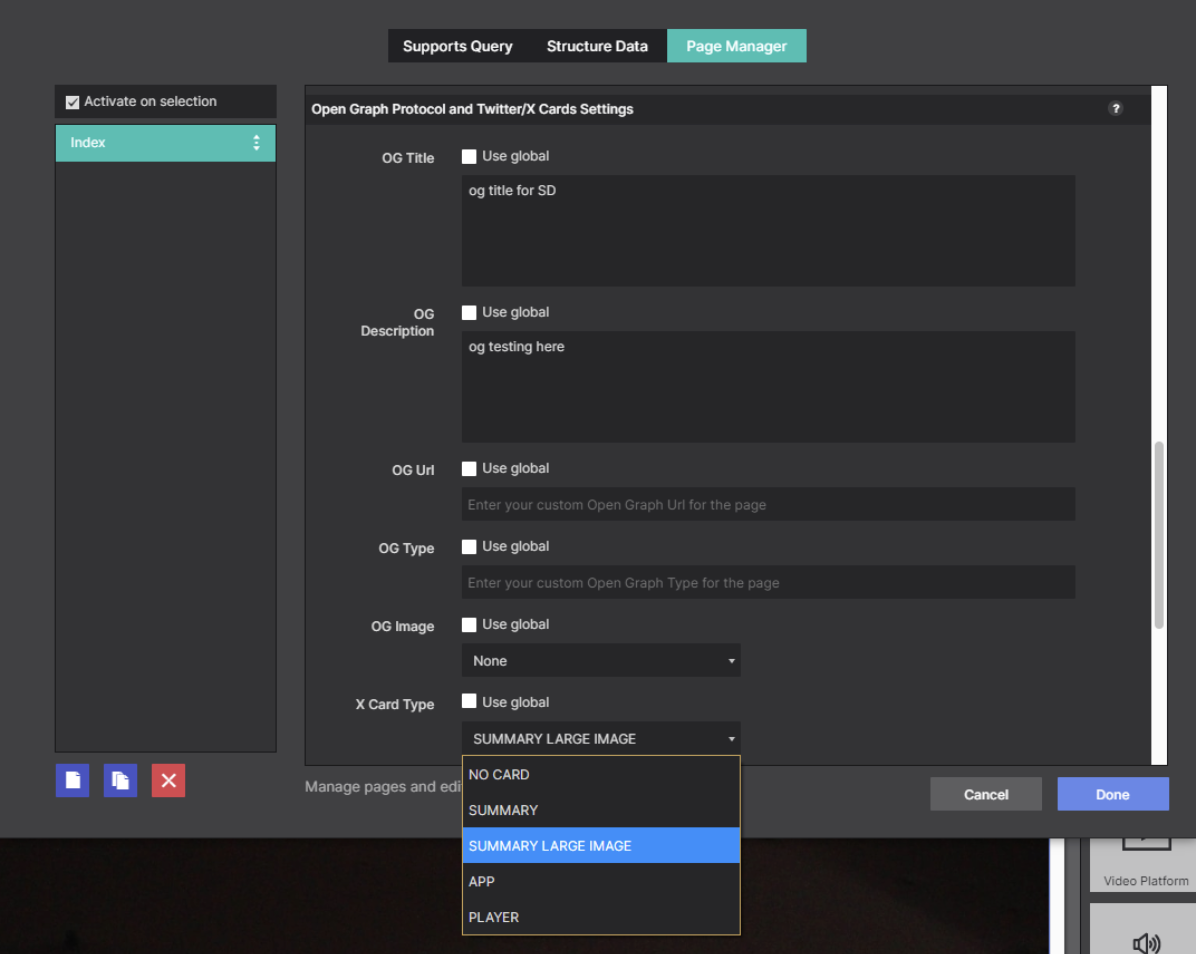
The tag is written into the page <head>:
<meta name="twitter:card" content="summary" />
Which Open Graph settings each type needs
| Card type | Open Graph required | Image |
|---|---|---|
summary | og:title, og:description, og:image | Square |
summary_large_image | og:title, og:description, og:image | Large and rectangular |
app | None | — |
player | None | — |
The app and player types use no Open Graph settings at all. They need extra Twitter-specific fields added to the page’s custom head section — X documents them for the app card and the player card.