Wrap text around an image
Browse tutorials- What you'll build
- Body copy flowing around a floated image, aligned to the left or the right, the way an editorial layout reads.
- Time to complete
- 5–10 min estimated
- Prerequisites
- None — you can start from any project.
Text flowing around an image is a staple of editorial layout. The technique has changed over the years, but in Site Designer it comes down to one property — float — plus a little margin so the text doesn’t touch the picture.
Build it
-
Add a Container
Add a Container element to the canvas. Everything else goes inside it.
-
Add an image and float it left
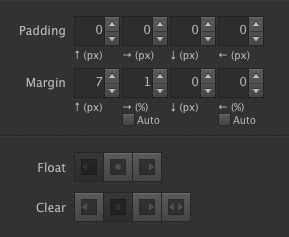
Add an Image element inside the container. Double-click the image to jump to the Styles pane, then in Layout → Dimensions set:
float: leftmargin-right: 1%margin-bottom: 0px
-
Add a paragraph below it
Add a Paragraph element below the image and set the amount of text you want. The example uses 146 words — enough to run past the bottom of the image, which is what makes the wrap visible.
-
Add a second image, floated right
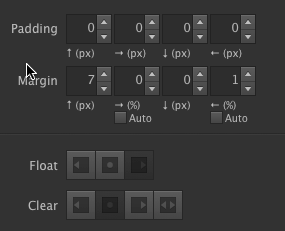
Add another Image element just below that paragraph. Double-click it and, again in Layout → Dimensions, set:
float: rightmargin-left: 1%
-
Add the second paragraph
Add a Paragraph below the second image and adjust its length to taste.
Making it read as one article
Set the paragraphs to display: inline and the two blocks close up into what looks like a single continuous article, with images floated on alternating sides.