
Embed a working contact form
Browse tutorials- What you'll build
- A contact form on your page that actually receives submissions, embedded from a hosted form service.
- Time to complete
- 10–15 min estimated
- Prerequisites
-
- Web Form Builder — a separate CoffeeCup app — or another form service that gives you embed code.
- Somewhere to host the form: CoffeeCup S-Drive, or your own server for the manual route.
Site Designer has form elements for building the visible part of a form. What it doesn’t have is somewhere for the submissions to go — that needs a server.
The route CoffeeCup documents is to build and host the form in Web Form Builder, then drop the resulting embed code into your page.
Route A — a form hosted on S-Drive
The simplest path: S-Drive hosts the form’s files, so there’s nothing to upload yourself.
-
Connect your account in Web Form Builder
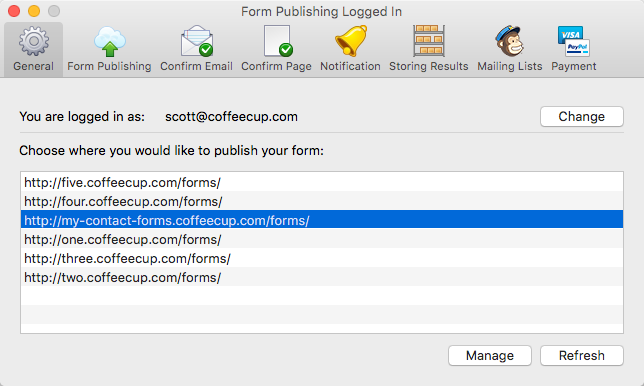
Click the Settings toolbar button and switch to the Form Publishing section. Enter your CoffeeCup account email and password, then click Go.
Once you’re signed in, every web address on your account that supports form publishing is listed.
-
Publish the form
Select the address you want, then click the Publish toolbar button.
Use Manage to make administrative changes to the S-Drive account, or Refresh if you’ve enabled an address that isn’t in the list yet.
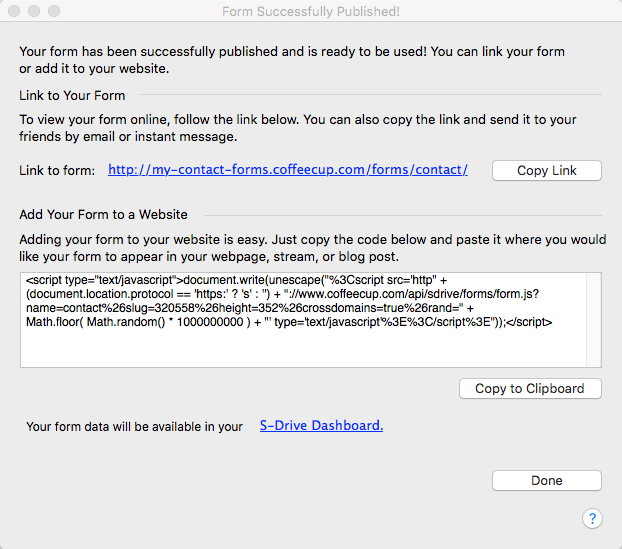
When the form has published you get a link to it plus embed code that can be placed in any webpage. Because the files live on S-Drive, that code works anywhere without uploading anything.
-
Paste it into Site Designer
Click Copy to Clipboard in Step 1 of the Exported dialog. In Site Designer, add an HTML Element from the Content pane where the form should appear, then go to Element pane → Element Properties and paste the markup into the HTML box.
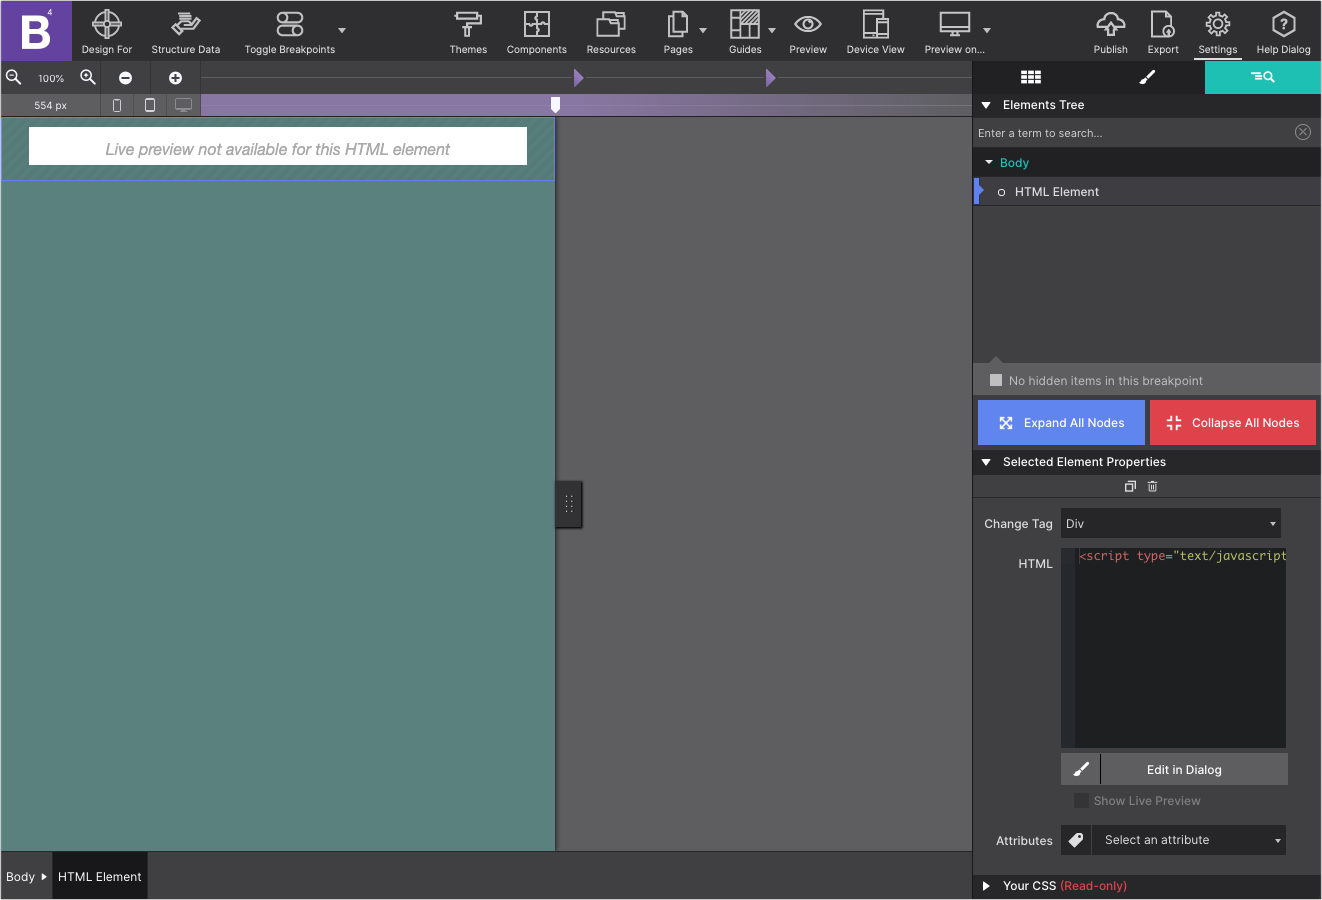
Because S-Drive hosts the form, you can see how it looks on the page without exporting anything: publish your site and view it online.
Route B — a form on your own server
There’s a second export option in Web Form Builder’s File → Export menu, Manual Server Setup, which skips S-Drive entirely.
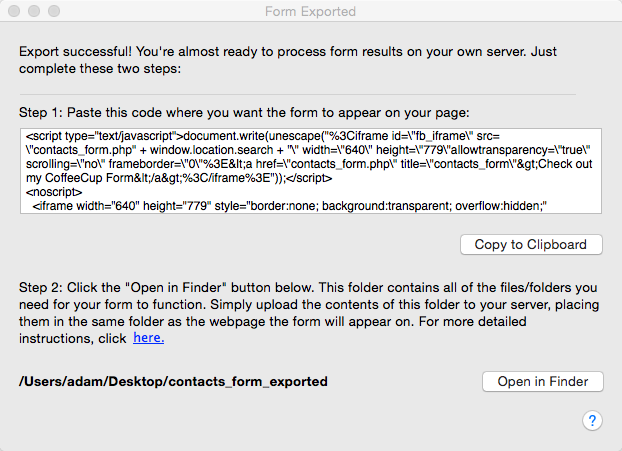
The shape is the same — copy the markup from Step 1 of the Form Exported dialog into an HTML element in Site Designer — with one addition: upload every file from the exported folder to your server yourself, using any FTP client, into the same folder as the page the form appears on.