
Applying styles to a selector
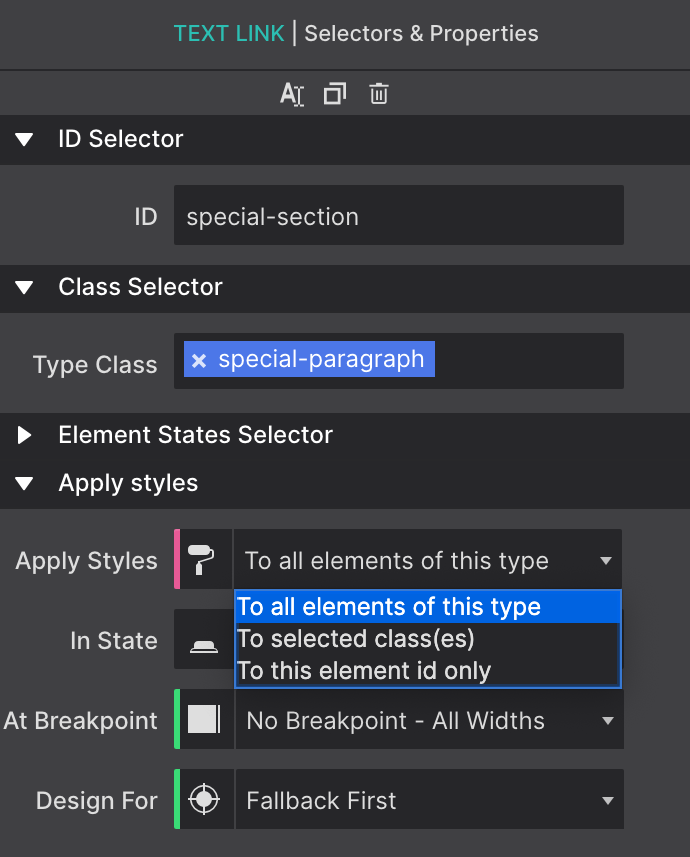
The selector options in the Apply Styles dropdown start with the broadest selection of elements, followed by a subset, and ends with the selection of a single element:
- The Type selector is used to define styles for all elements of the same type.
- When styles are associated with a Class selector, all elements (of the same type) that have that class will share them.
- Each ID is unique, the style definitions will only apply to the single element currently selected.
Start with the element Types
The most efficient workflow is to first define styles for element Types. This way a common ‘starting style’ for all elements of that type can be defined. Basically, your default choices. If you want all your headers to be a certain color, or your paragraphs to all be the same font-type. Applying the styles to the Types means you only have to select it once, and every time you add a new header or paragraph, the styles you originally chose will display.
For example, when Type is selected in the dropdown, further down on the pane in the Typography section Roboto can be set as the default font-family for all paragraphs.
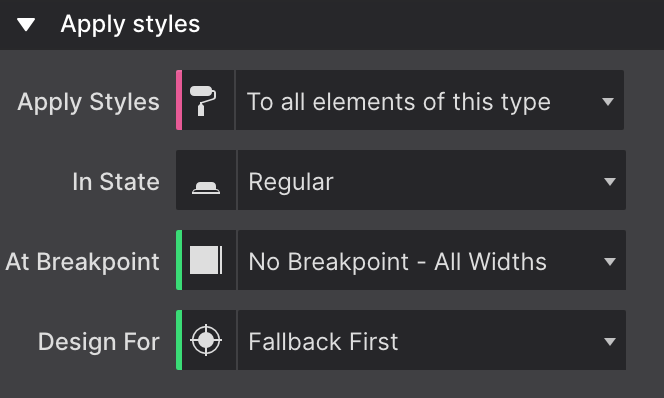
As can be seen from the image, styles applied to the Type have a pink indicator.
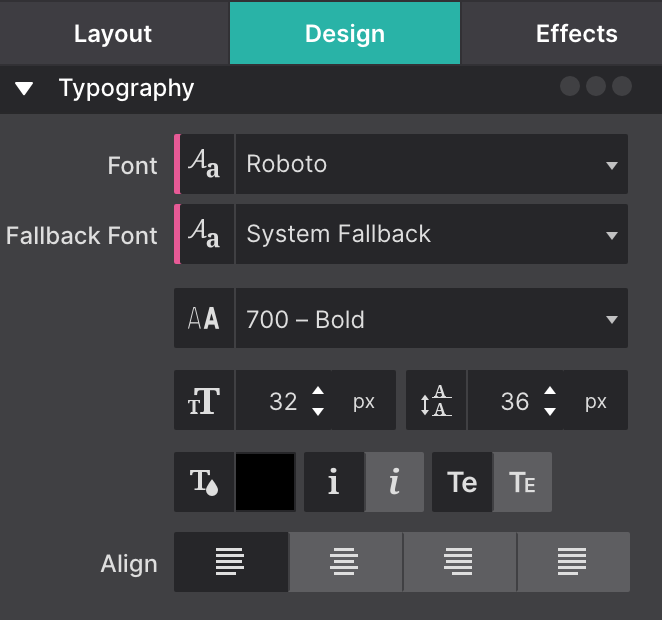
This way the font-family and font-size for all paragraphs can be updated with one single edit. Also, whenever a new paragraph is added, these styles will already be present.
The proper use of selectors can speed up the design process and simplify the maintenance of a site.
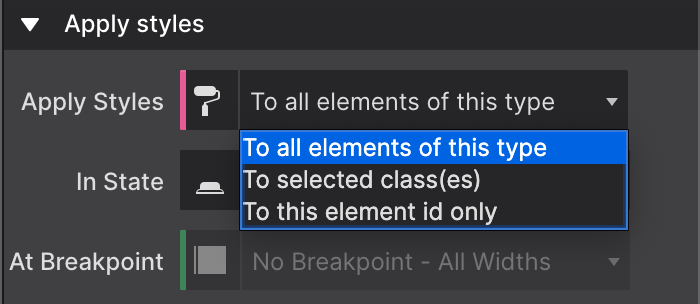
The most efficient workflow is to first define all default styles for element Types. Choose the Type selector from the Apply Styles dropdown before using the design controls further below. Styles applied to the type have a pink indicator.
Add classes for design variations
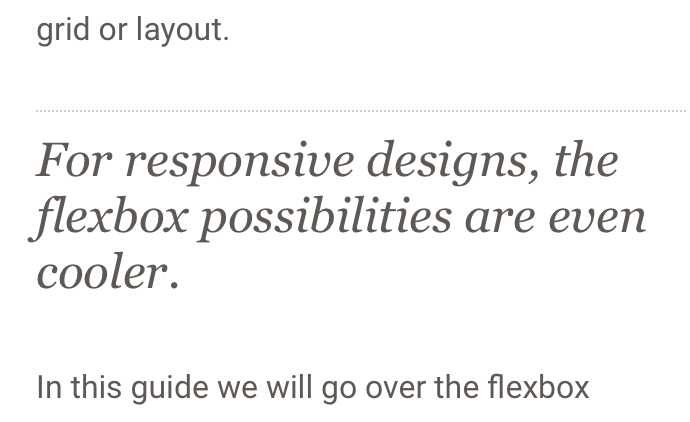
In the example above, the header has the font-family specified for the type, but uses a class to add a top border and make the font italic. Classes can be added to create design variations. The variations are related to a different usage of the element in the design.
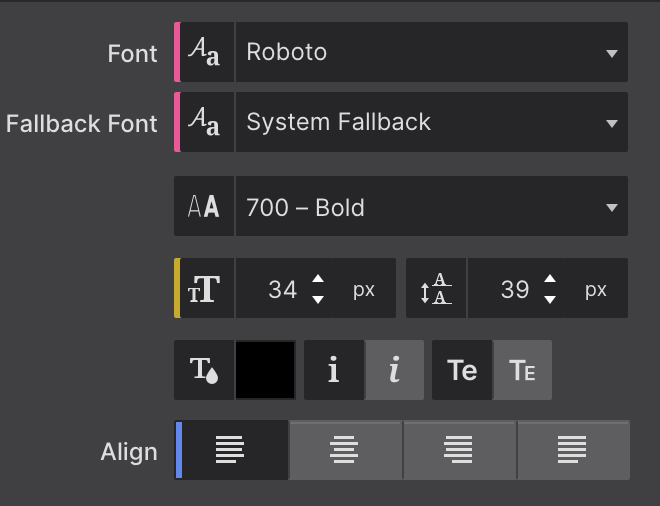
The image above shows that the font family for the paragraph from step 1 is specified in pink for the Type. The same is true for the color and line-height.
The yellow indicator shows that the font-size is specified for that specific element only — on the (unique) ID. The blue line tells that the Align setting is applied for the Class name.